Plan #
The budget shows one month at a time: what you planned, what you spent, what is left. The Plan view shows the same budget as a spreadsheet across several months — every envelope, category and tag is a row, every month is a column — so you can put next spring’s holiday or an annual insurance premium into the plan long before the money moves.
Both views belong to the same budget. Switching between them changes nothing about your data; it only changes how much of the budget you are looking at.
In this section #
- Opening the Plan view
- Reading the sheet
- Planning a month
- Copying an amount forward
- The Balance row
- Keeping a long sheet readable
Opening the Plan view #
Open your budget from Budget & Plan in the sidebar (on mobile, from the home screen), then switch the BUDGET / PLAN toggle next to the budget name to PLAN.
On a phone and a tablet there is no toggle in the header: open the Configure menu in the top-right corner and pick Plan at the top of it — the view you are on is ticked.
Reading the sheet #
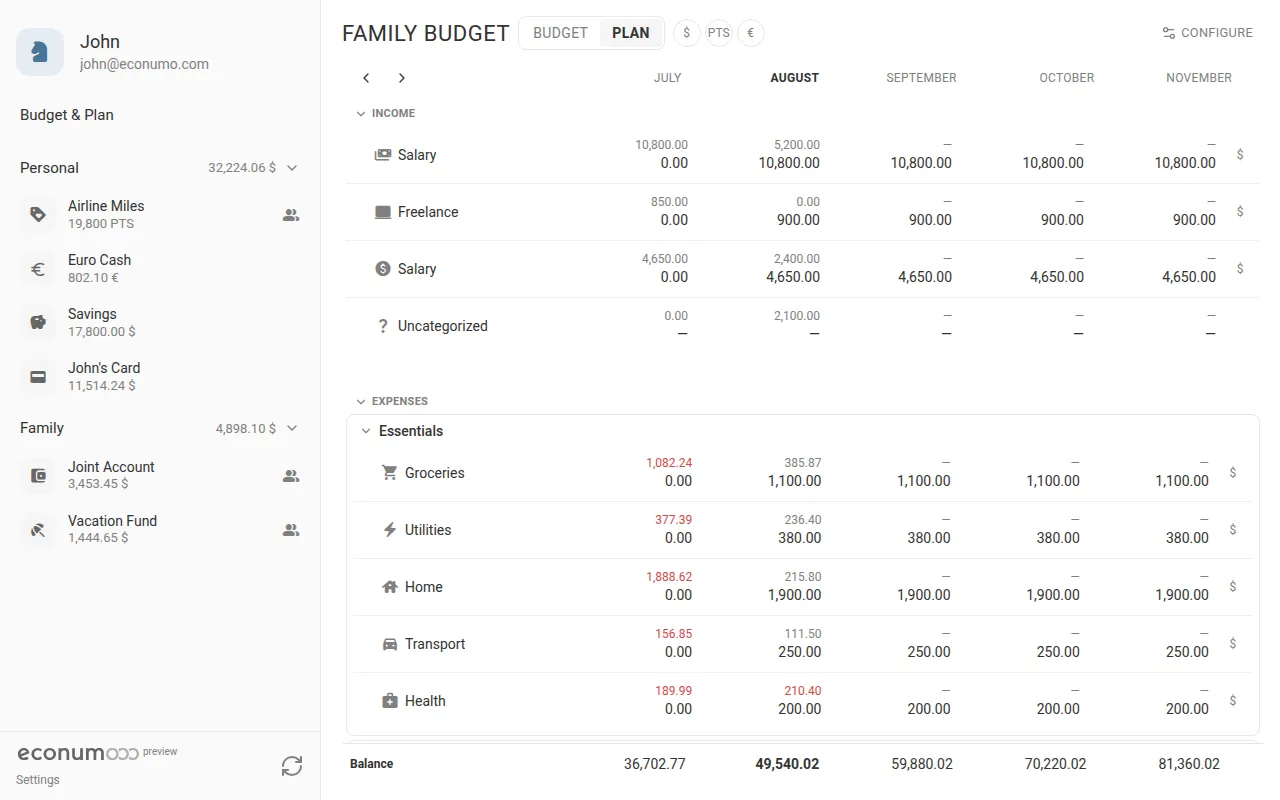
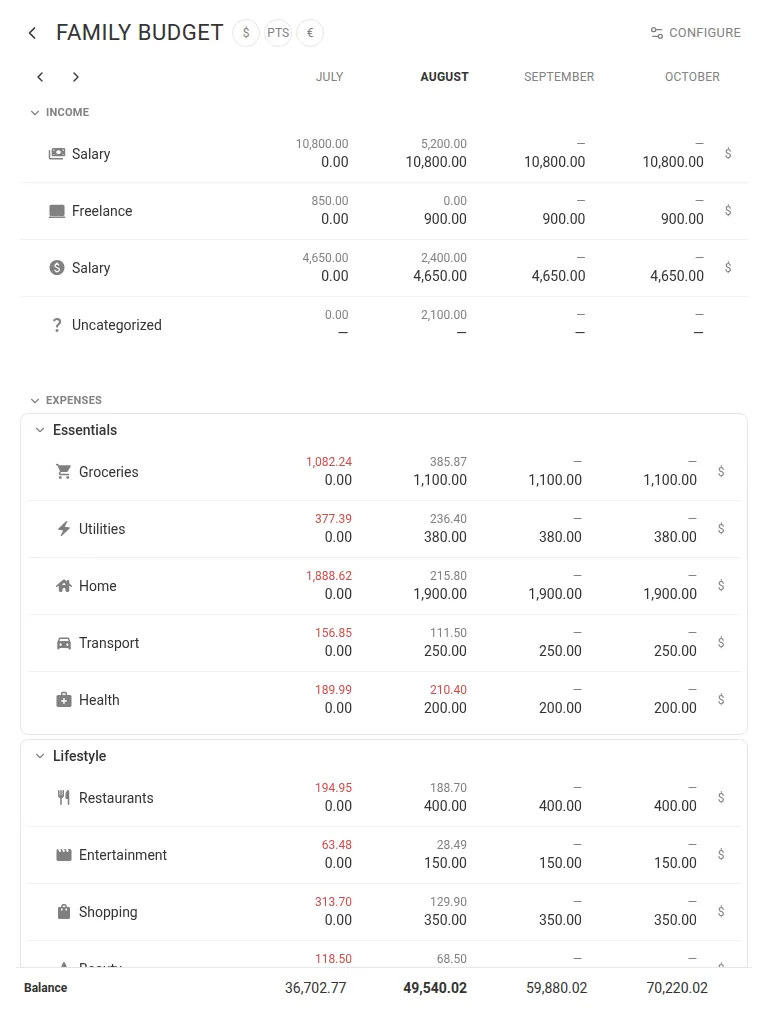
Rows are the elements of your budget, in the structure you gave it: categories, tags and envelopes grouped into folders, exactly as in the budget view. Income categories sit in their own INCOME section above the EXPENSES section.
Each cell holds two numbers: the amount actually spent or earned on top, in small grey type, and the amount you planned below it. An actual figure that overshoots the plan is shown in red. A dash means nothing is planned for that month yet.
The arrows above the sheet — Earlier months and Later months — move the visible window backwards and forwards in time.
Planning a month #
- Click (or tap) the cell where the row and the month meet.
- A small Budget field opens with the same calculator keypad
(
+,−,×,÷,=) as the transaction dialog. - Type the amount and press SAVE.
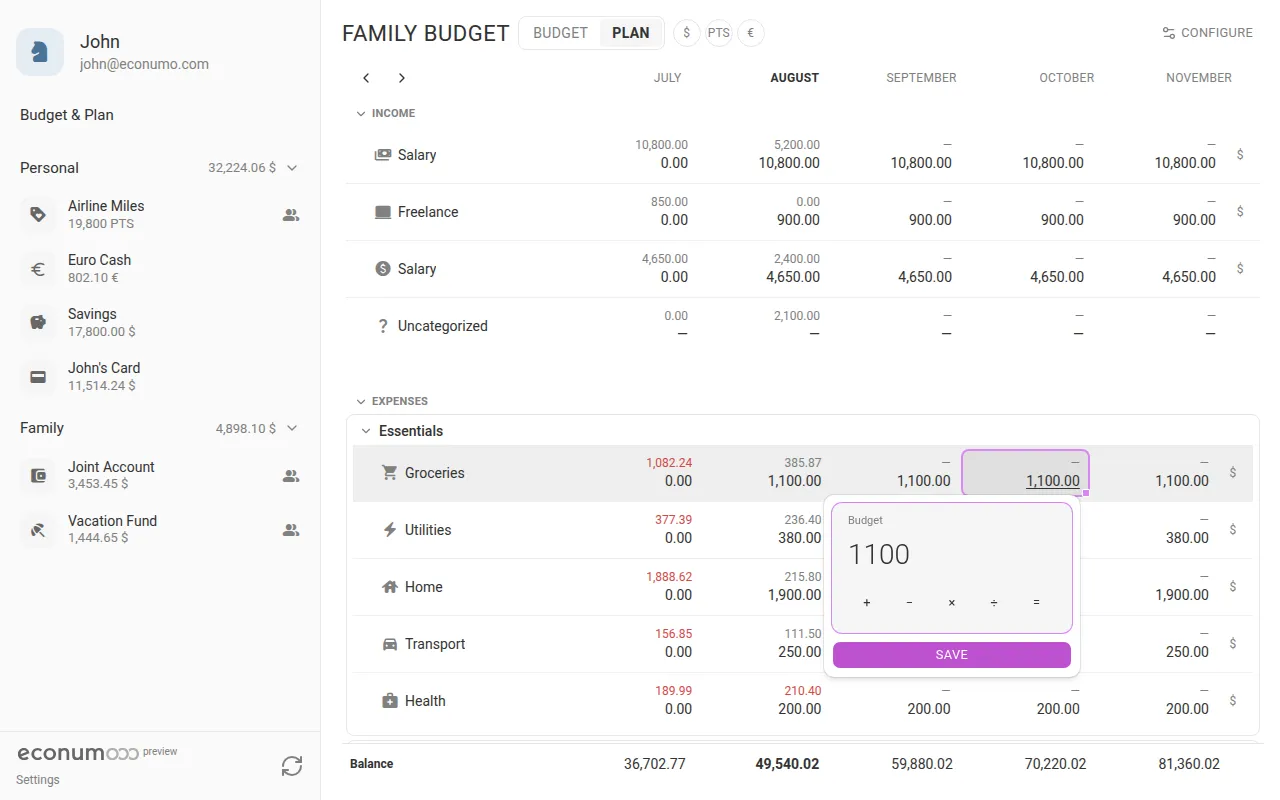
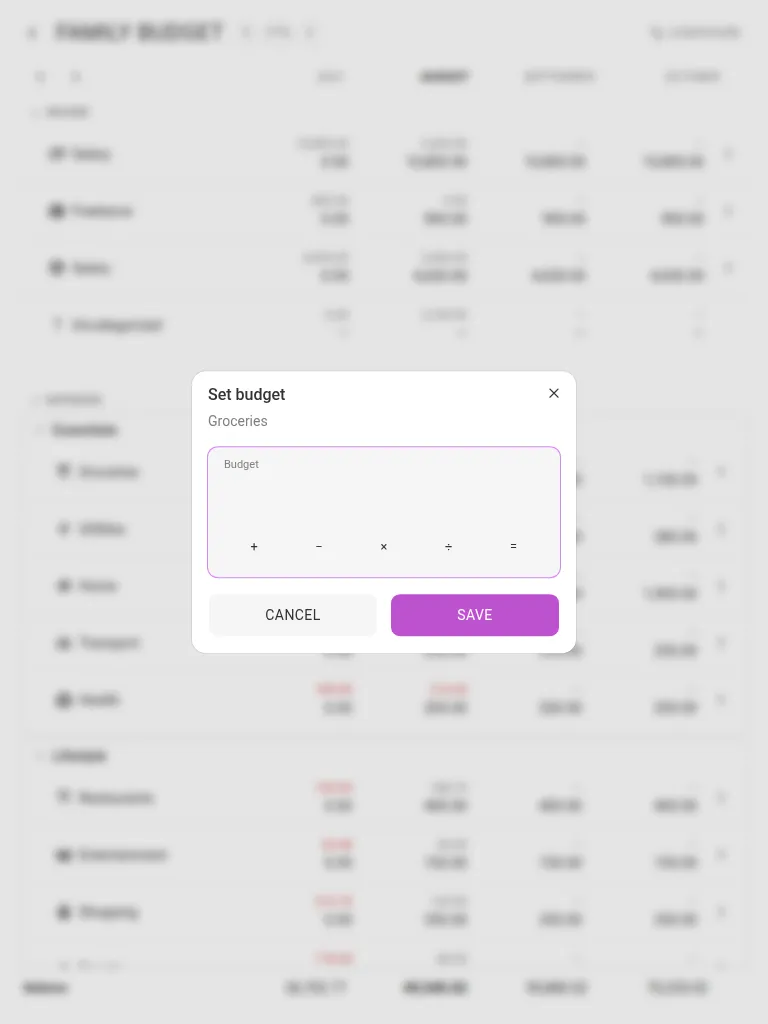
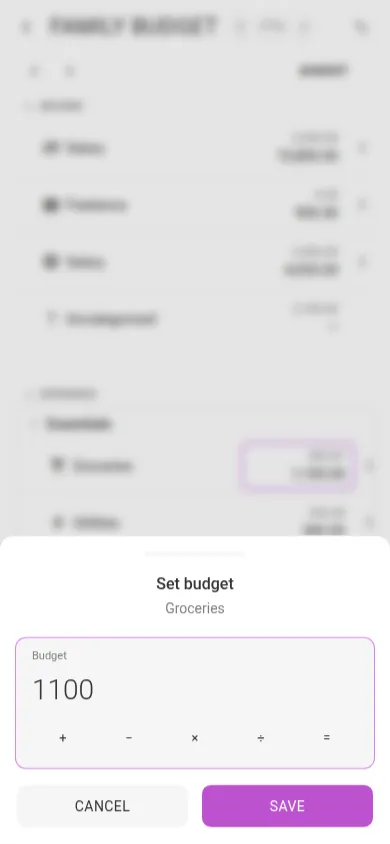
Income rows are planned exactly the same way — a planned salary is what makes the projection at the foot of the sheet worth reading.
Copying an amount forward #
Most plans repeat: the same rent, the same phone bill, month after month. When a cell is selected, a small square appears at its bottom-right corner — Copy budget to the following months. Drag it to the right to repeat that amount across the months it covers.
The Balance row #
The Balance row is pinned to the bottom of the sheet, under per-month Income, Expenses and Transfers totals. It rolls your money forward month by month, starting from your real account balances, so each column shows what you would be left with by the end of that month if the plan holds.
That is what makes planning ahead useful: put a two-week trip into next July and you can see immediately what it does to the months after it.
Keeping a long sheet readable #
A budget with a few dozen elements makes for a tall sheet, and most rows are empty in most months. Two things help:
- Configure → Hide empty rows drops every row that has neither a planned nor an actual amount anywhere in the visible window.
- The INCOME and EXPENSES headers, and each folder header, collapse with the chevron beside them.
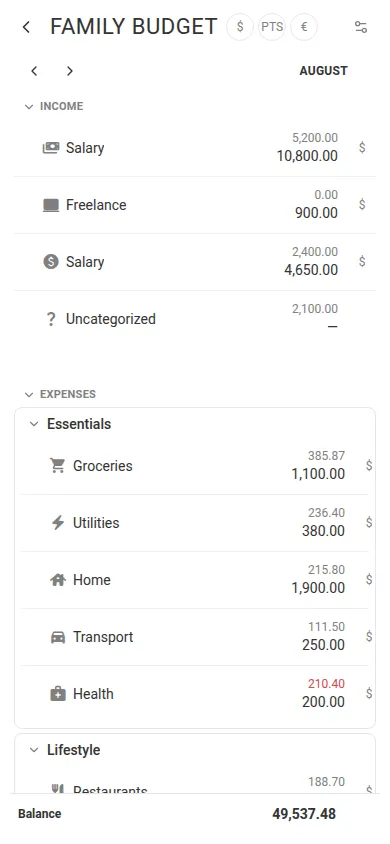
Note On a phone the sheet narrows to a single month column; step through months with the same Earlier months / Later months arrows. The Balance row stays pinned at the bottom of the screen.