Transactions #
This section provides an overview of Transactions in Econumo.
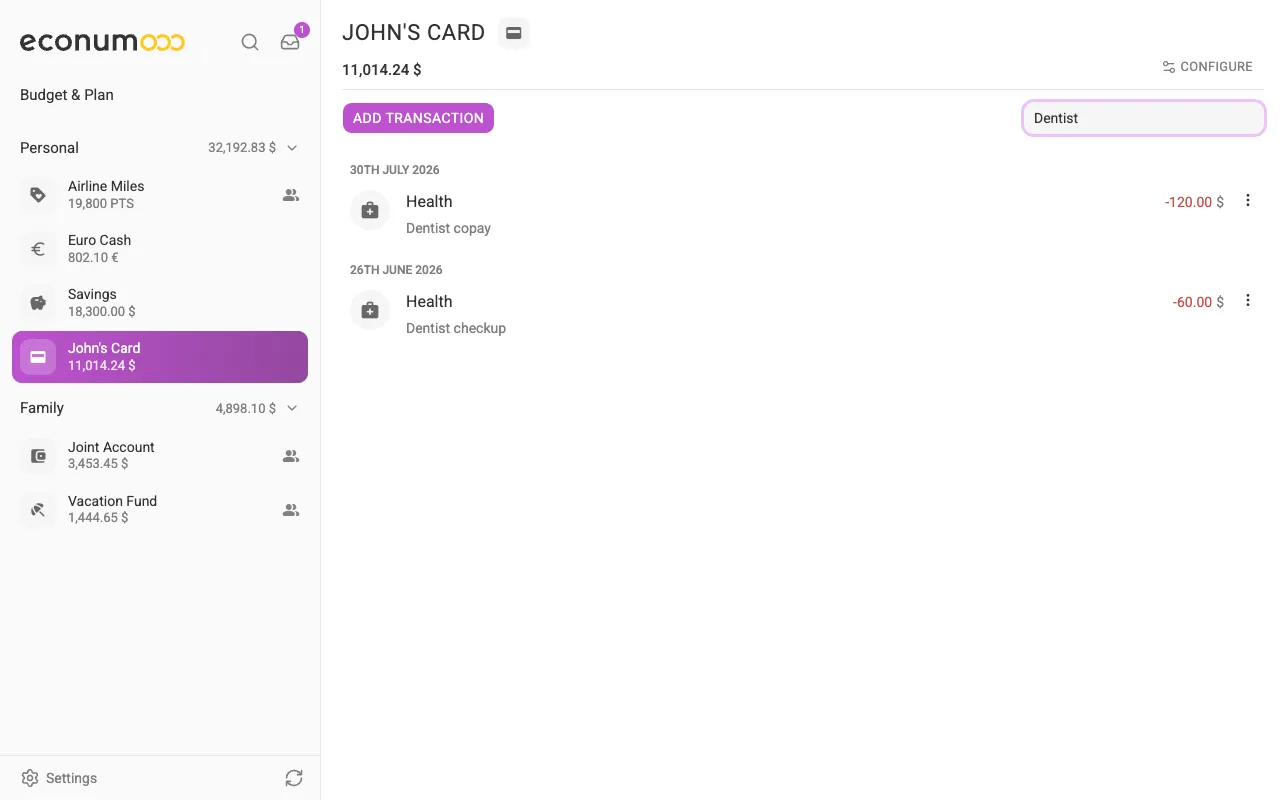
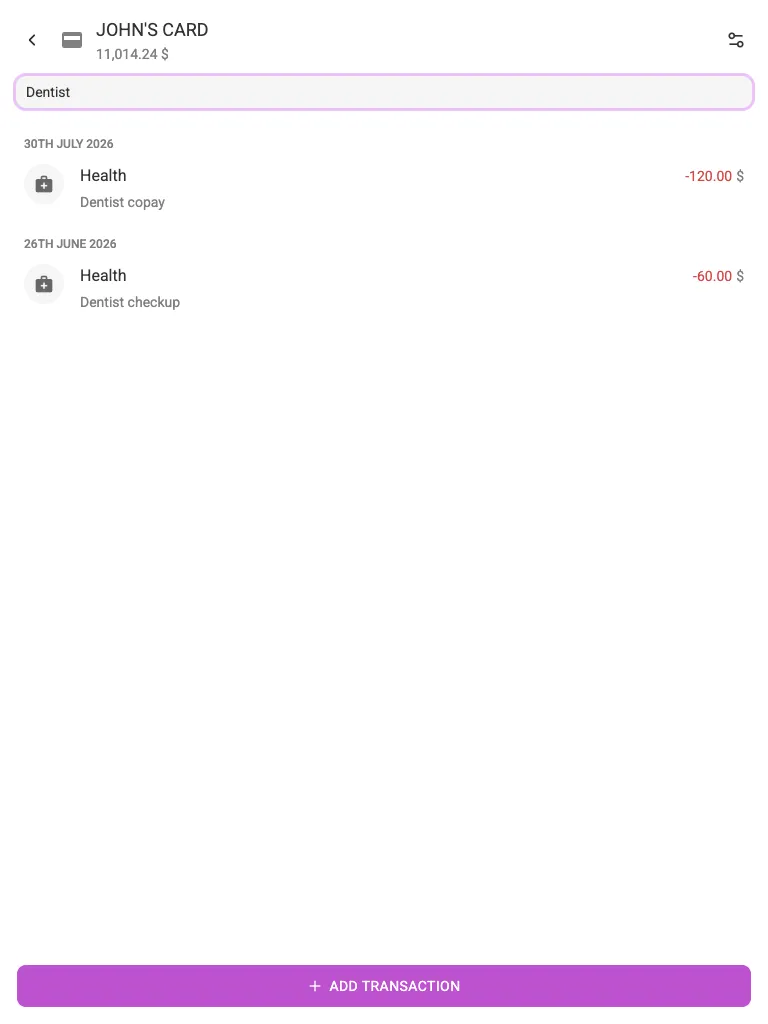
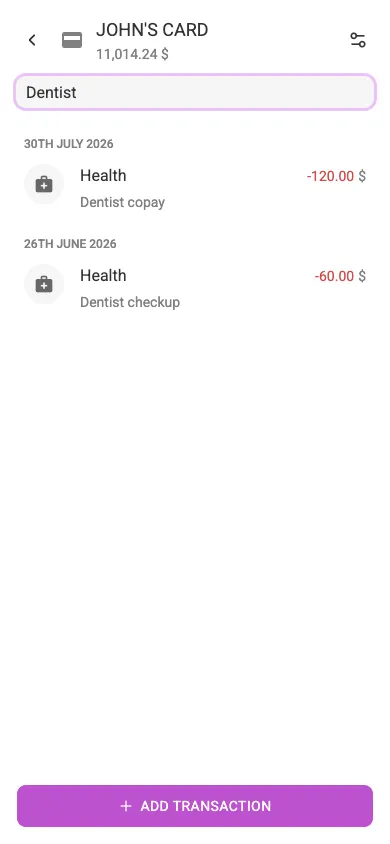
Transactions form the core of Econumo, as all budgeting is based on the transactions you enter. Open any account to see its transaction list, search it, and add new records. To find a transaction across all your accounts at once, use Search (Ctrl+K / ⌘K).
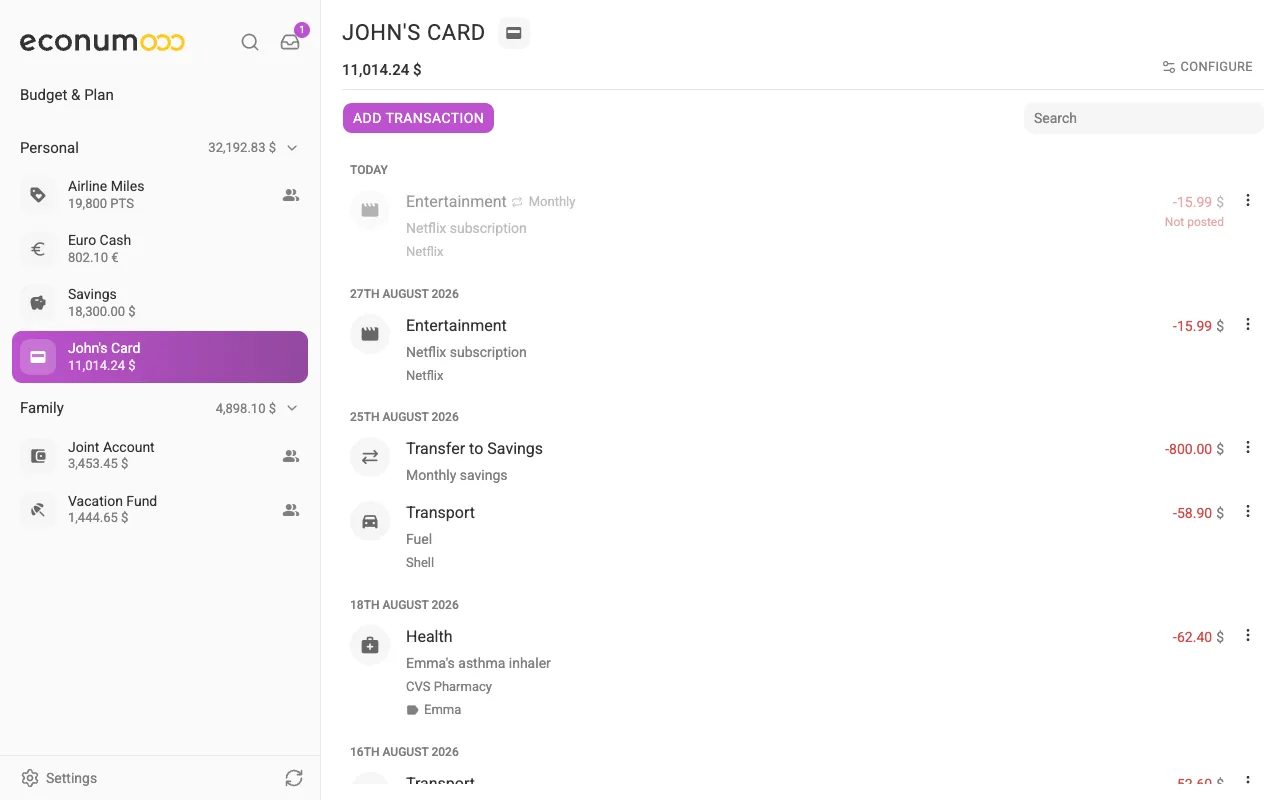
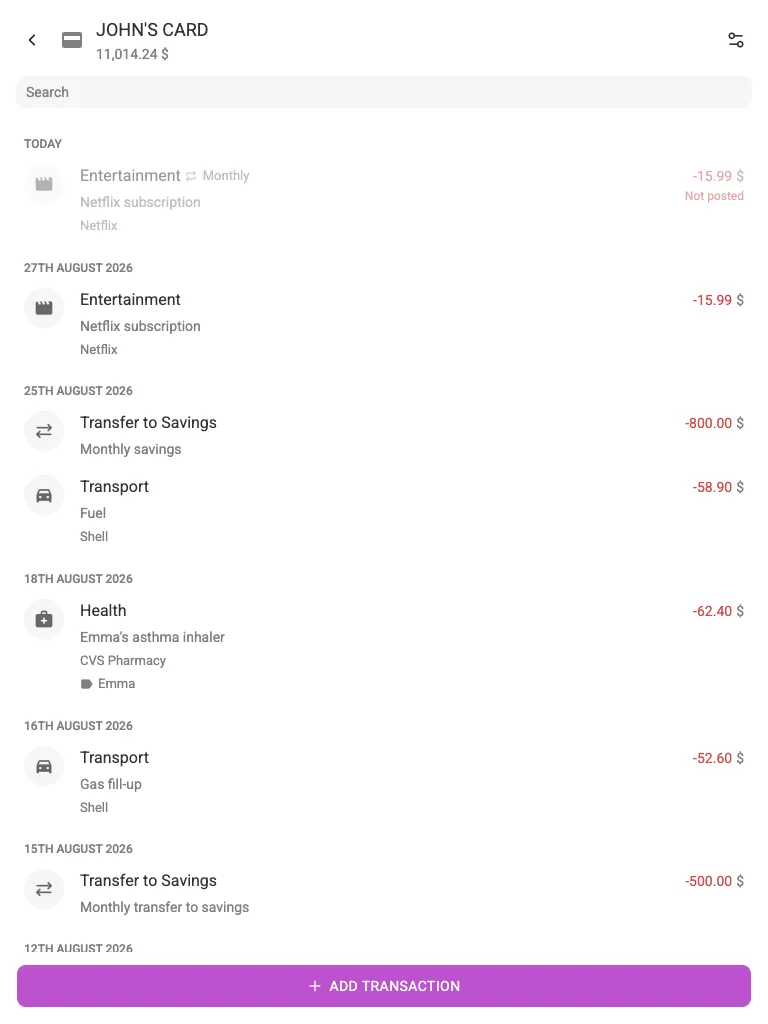
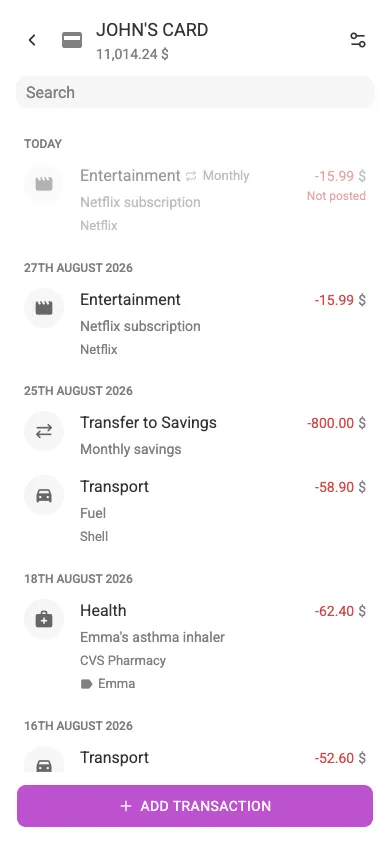
The search field filters the transaction list as you type:
In this section #
Note For payments that come back every month — rent, salary, a subscription — set up a schedule once instead of typing them in again and again. See Recurring Transactions.
Adding transactions #
Press Add transaction on the account page (on mobile it is the button at the bottom of the screen) to open the transaction dialog.
Transaction date
In the top-right corner of the dialog, you can set the transaction date (the date you spent or earned the money). Clicking the date opens a calendar, and the arrow next to it steps one day back. Note that transaction time is not currently supported.
Transaction types
You can add one of the following transaction types:
- Expense (default option)
- Transfer
- Income
Each type has a different set of fields to complete.
Adding expenses #
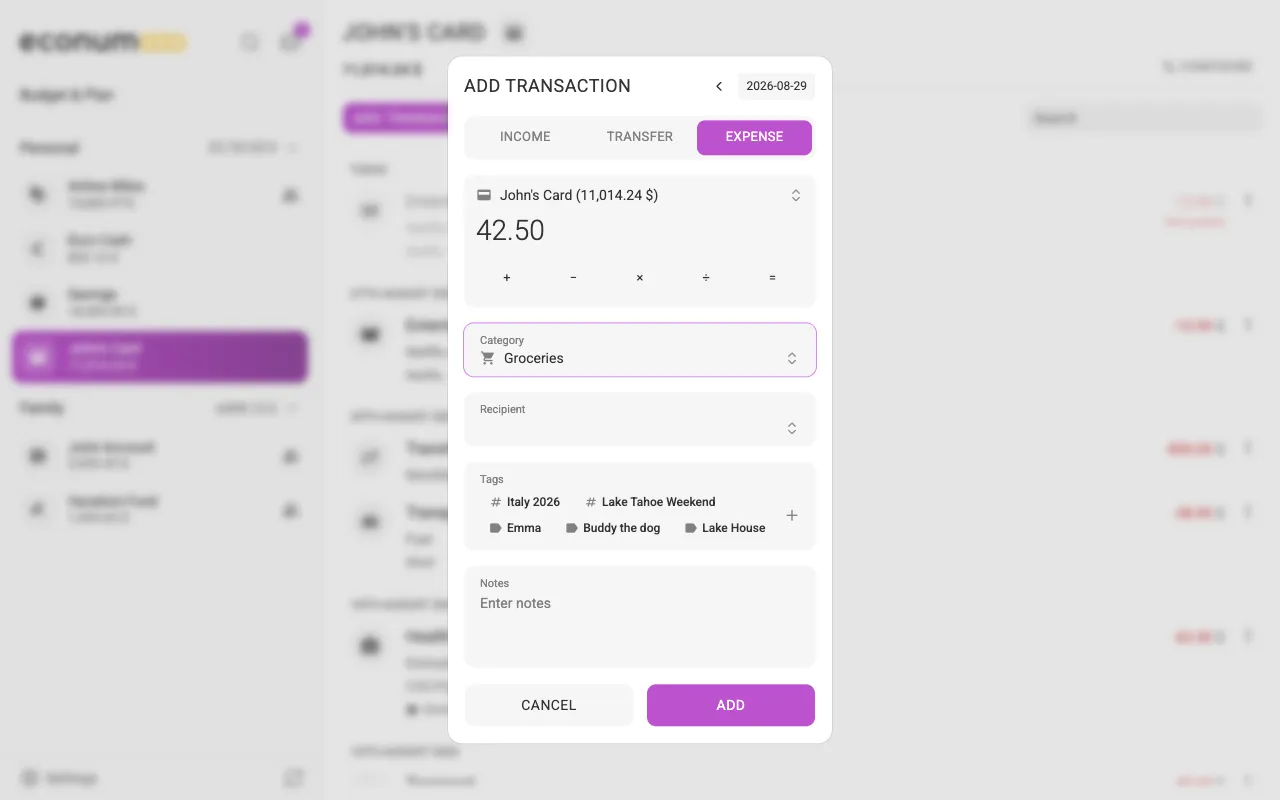
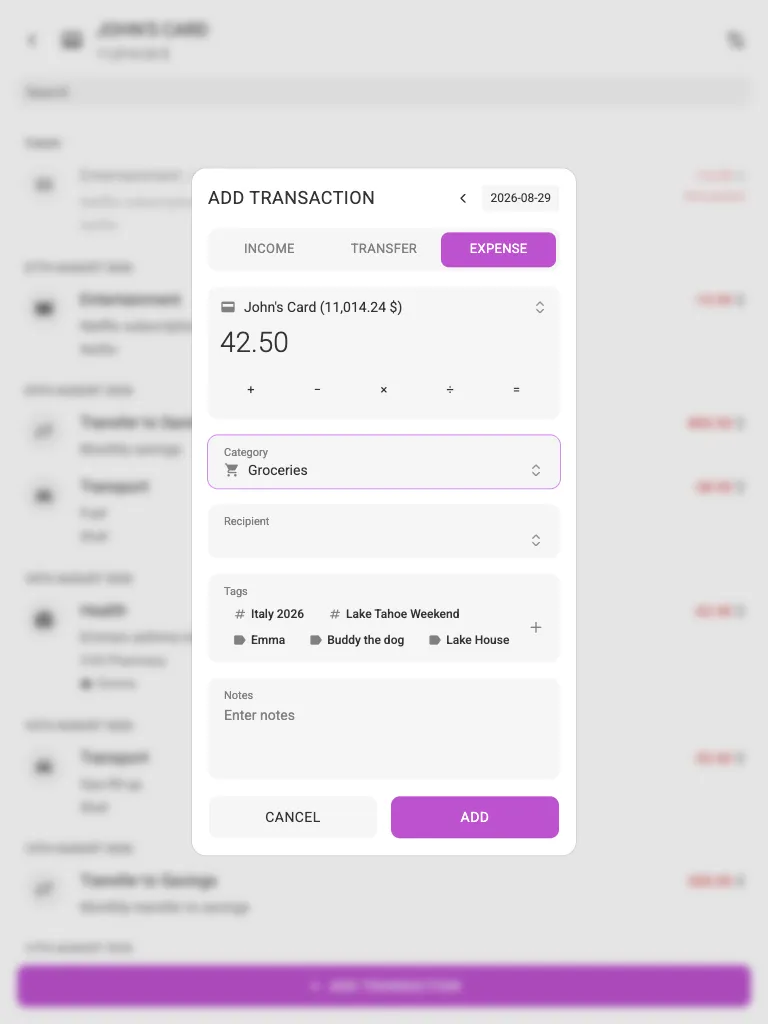
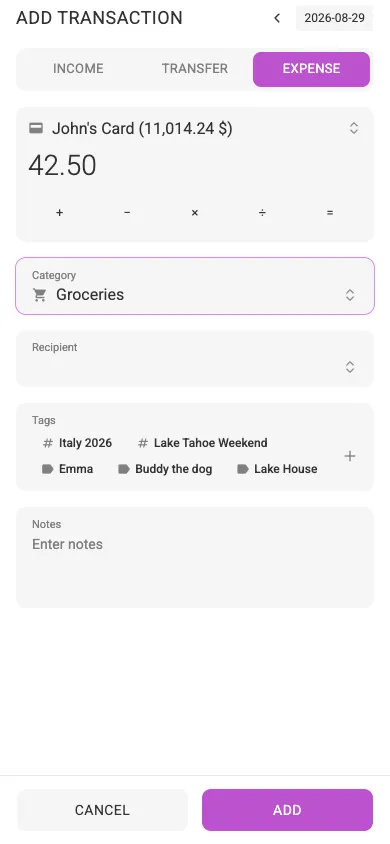
To add an expense, pick the account, enter the amount, and choose a category — that is all a record needs. Notes, a recipient, and tags are optional.
Amount
Enter the amount spent in the account’s currency. The +, −, ×, ÷, and
= buttons under the amount field (also available as keyboard keys on
desktop) let you calculate the total right in the dialog — for example, add up
several receipt lines and press =.
Categories
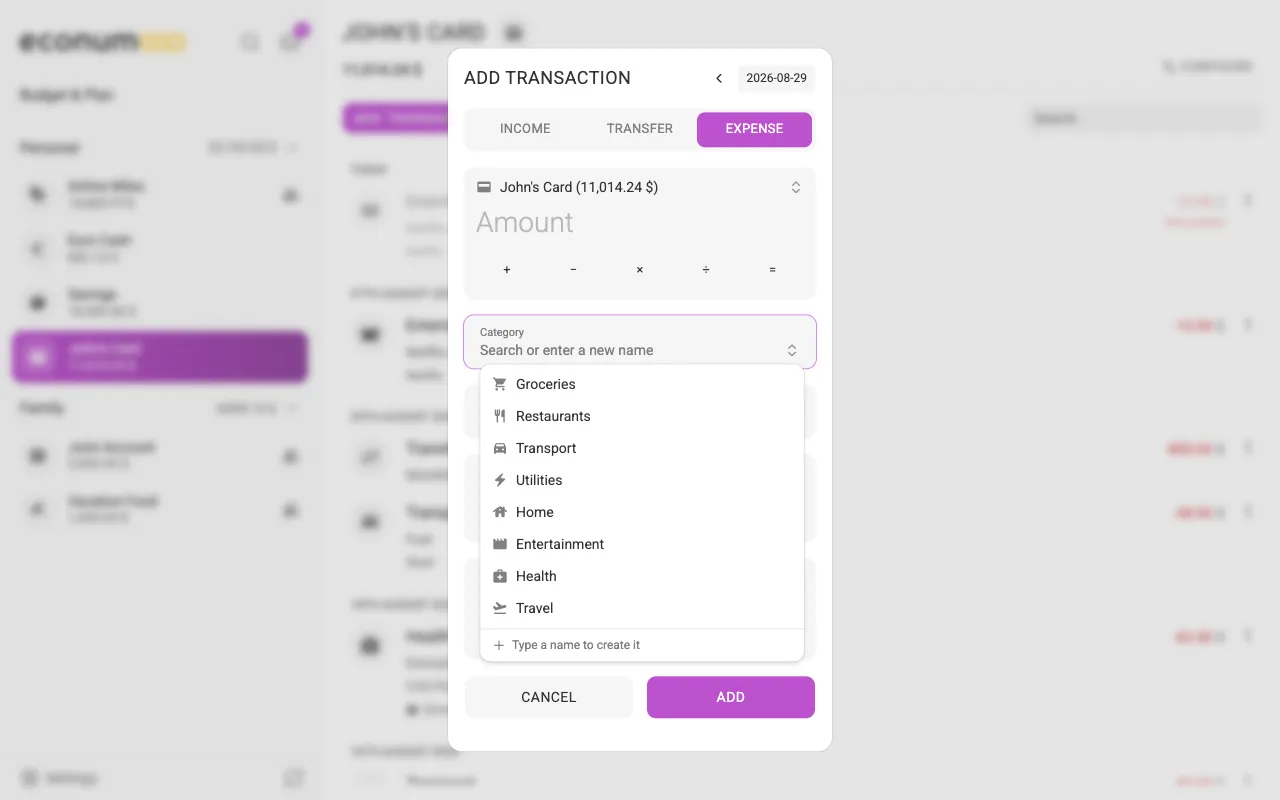
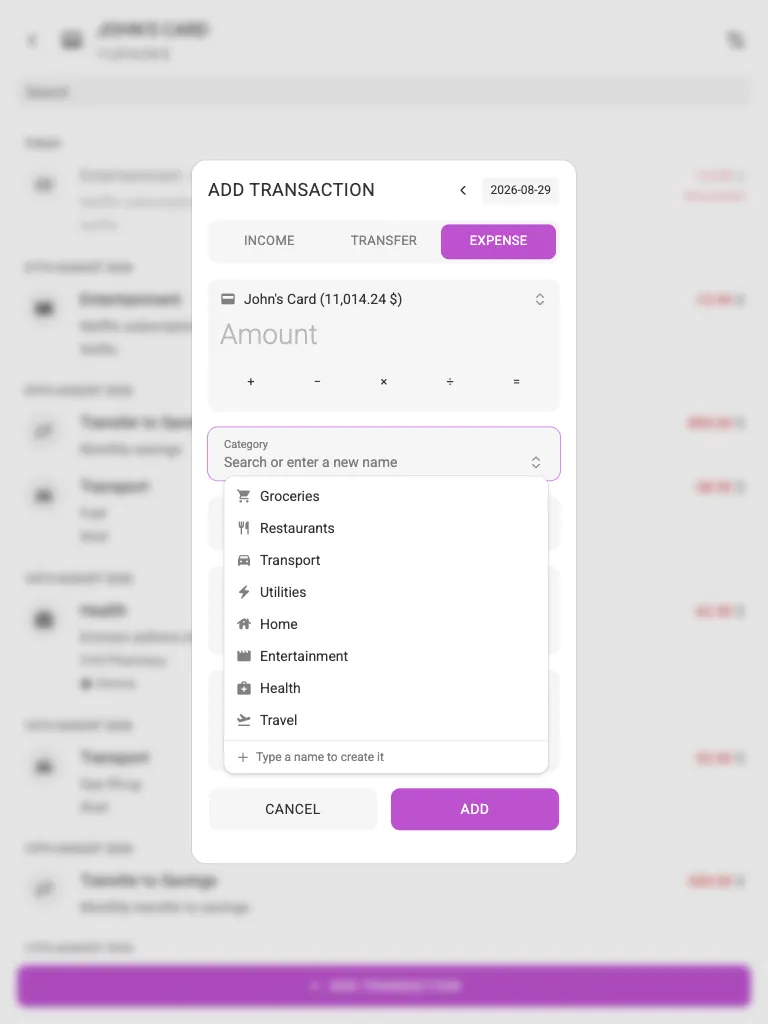
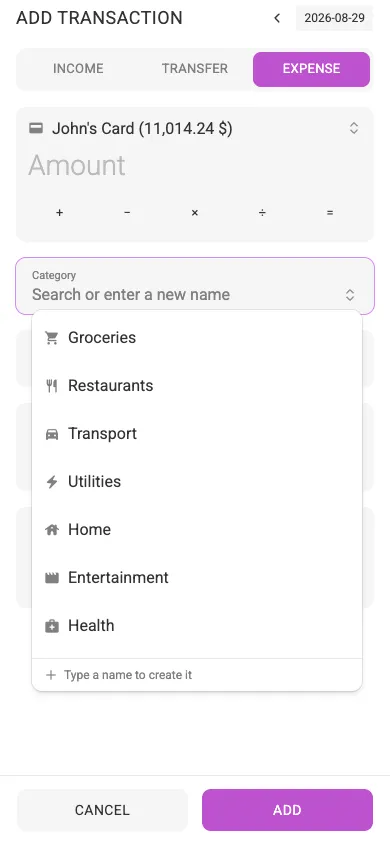
Categories are optional — you can save an expense without picking one. Click the category field to search your categories or create a new one: type a name that does not exist yet and press “Enter” (or “Search”/“Submit” on your mobile keyboard). The name must be 3–64 characters long.
Note Leave a transaction uncategorized and it still counts toward your budget: it shows up there as a read-only Uncategorized element instead of being left out of the totals. See Budgeting.
Recipients
You can specify a recipient for each transaction — the name of a person or a company where you spent the money. Like categories, recipients can be created right from the dialog.
Tags
Tags group spending across categories. The Tags row lists both kinds side by side, and they behave differently when you tap them:
- Budget tags, marked with
#, are for a project or an event — in the screenshots, the family tags its Italy vacation expenses withItaly 2026. A transaction takes only one, so picking a second replaces the first. - Reporting tags track who or what the money went on — a kid, a pet, a second home. Toggle as many as apply.
Press the + button to create a new tag without leaving the dialog (3–64
characters); see
Budget tags and reporting tags
for the difference in full.
Notes
The notes field allows you to add any comments related to the transaction.
Adding transfers #
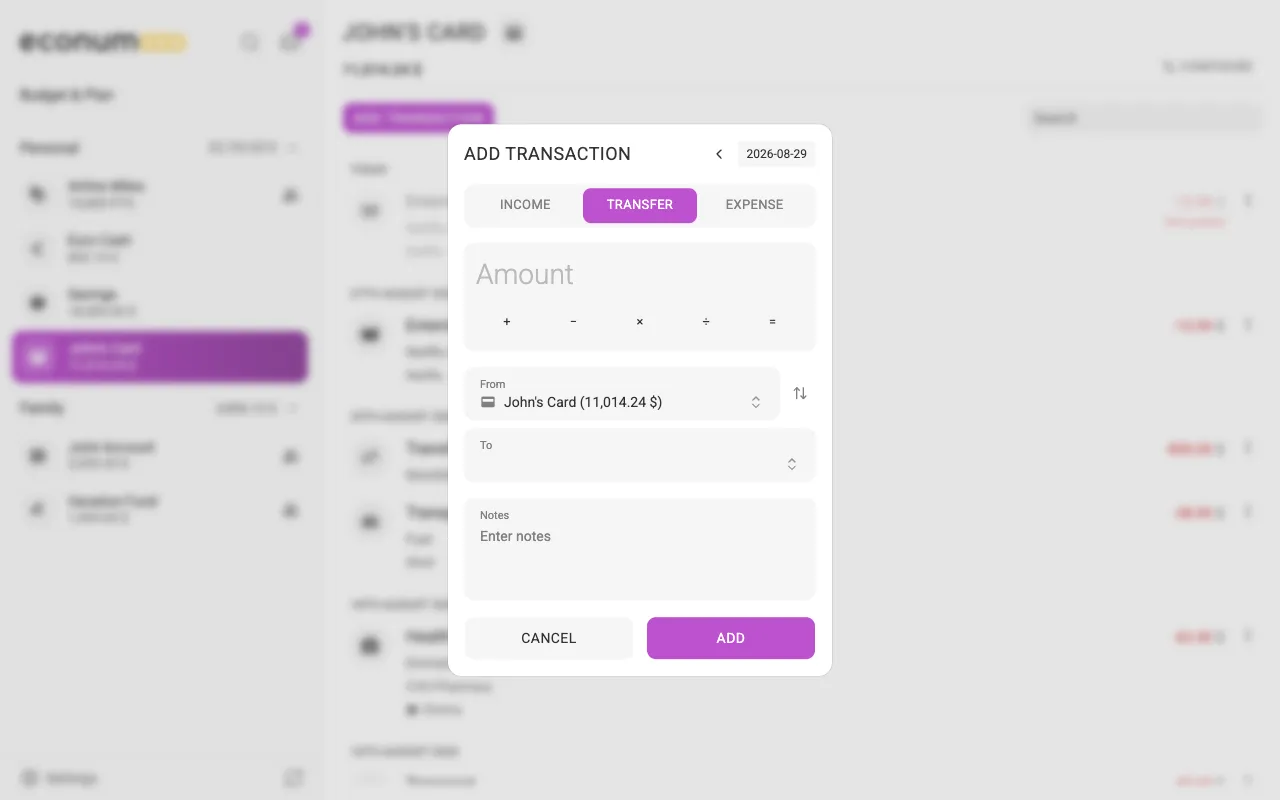
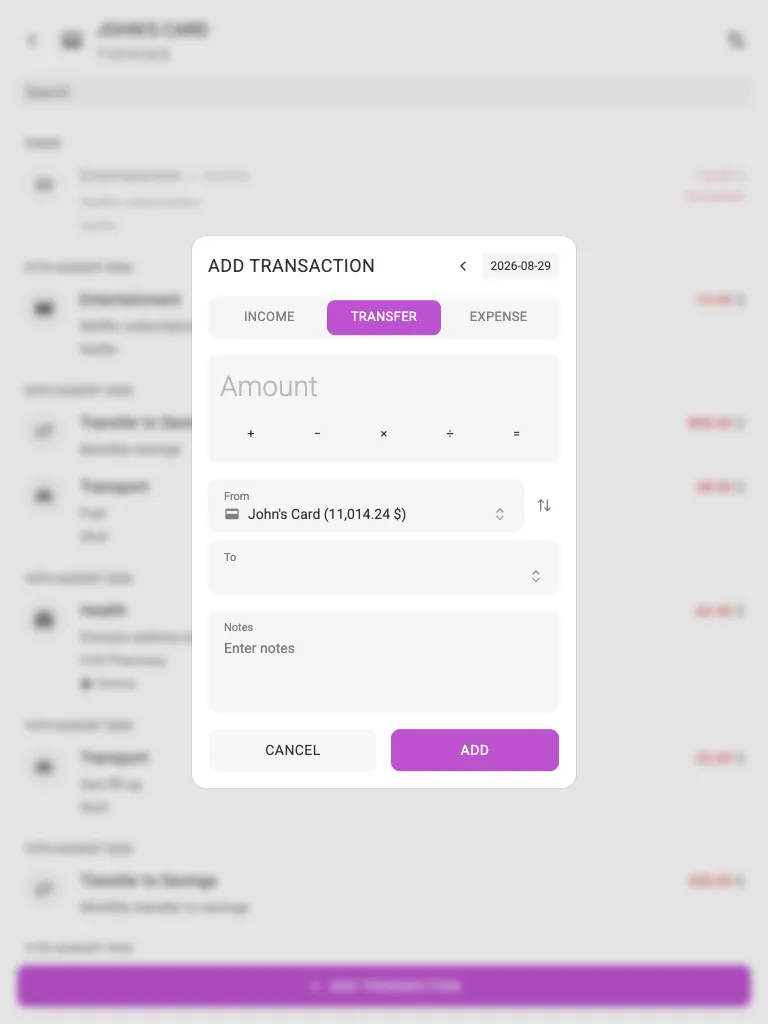
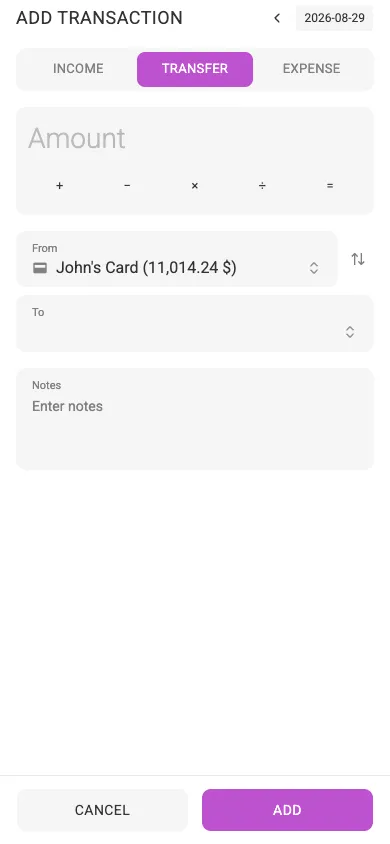
Transfers move money between your accounts without affecting the budget:
From/To
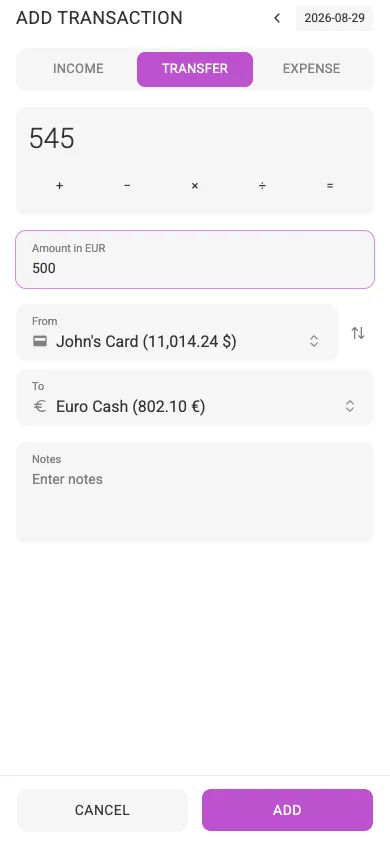
Select the account from which you want to move money to another account. The swap button next to the account fields switches the direction.
Amount
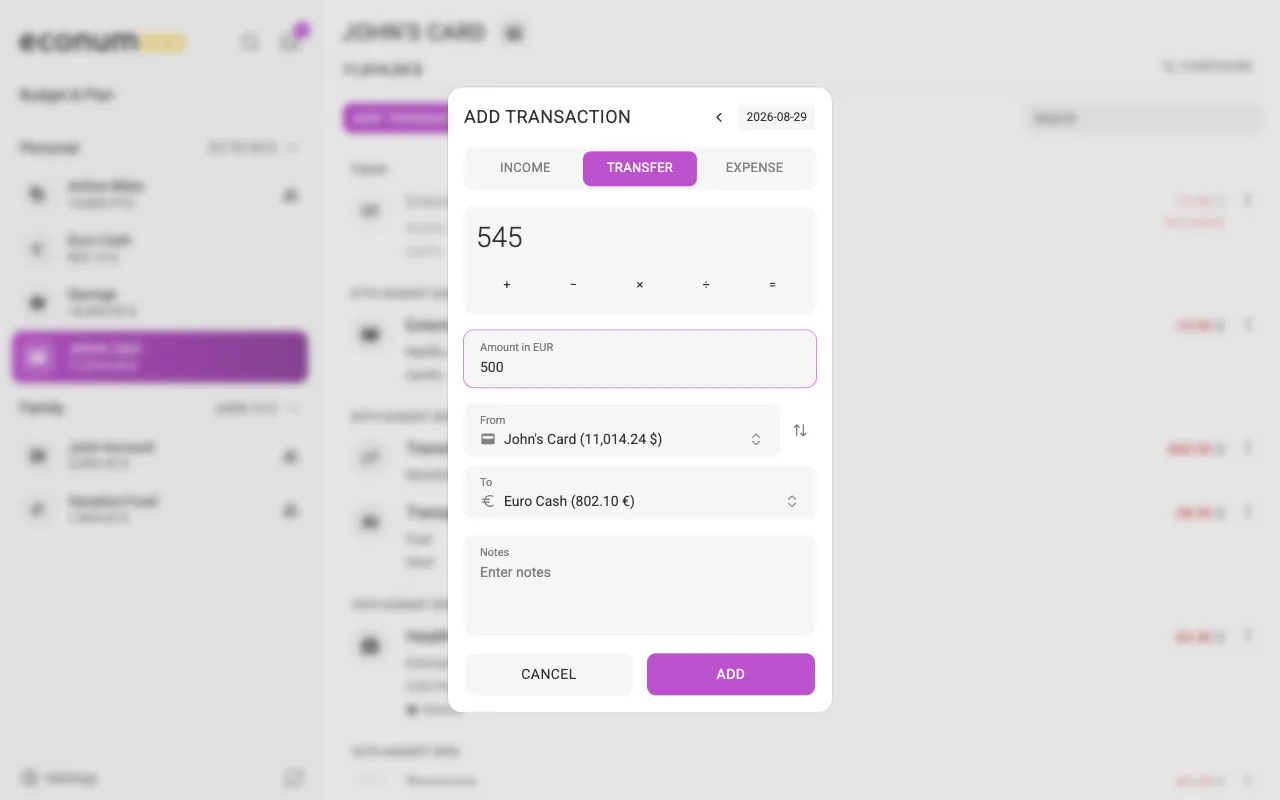
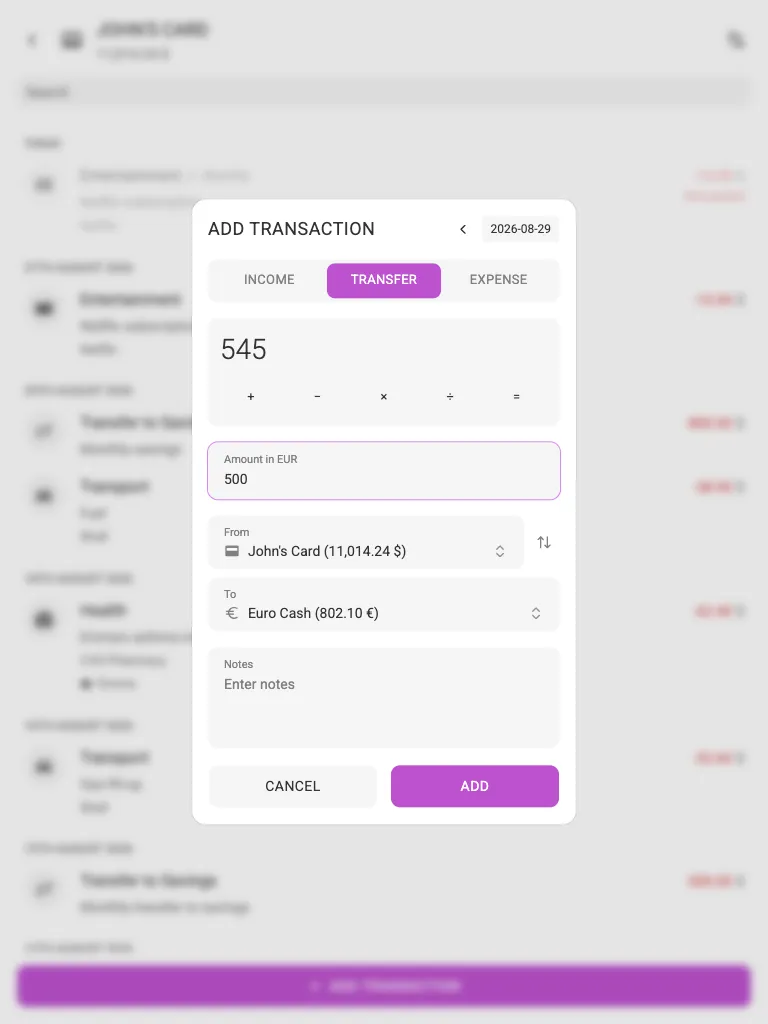
Enter the transfer amount. The same in-dialog calculator (+, −, ×, ÷,
=) is available. If the two accounts use different currencies, a second field
appears so you can record the exact amount received in the target currency:
Notes
The notes field allows you to add any comments related to the transfer.
Adding income #
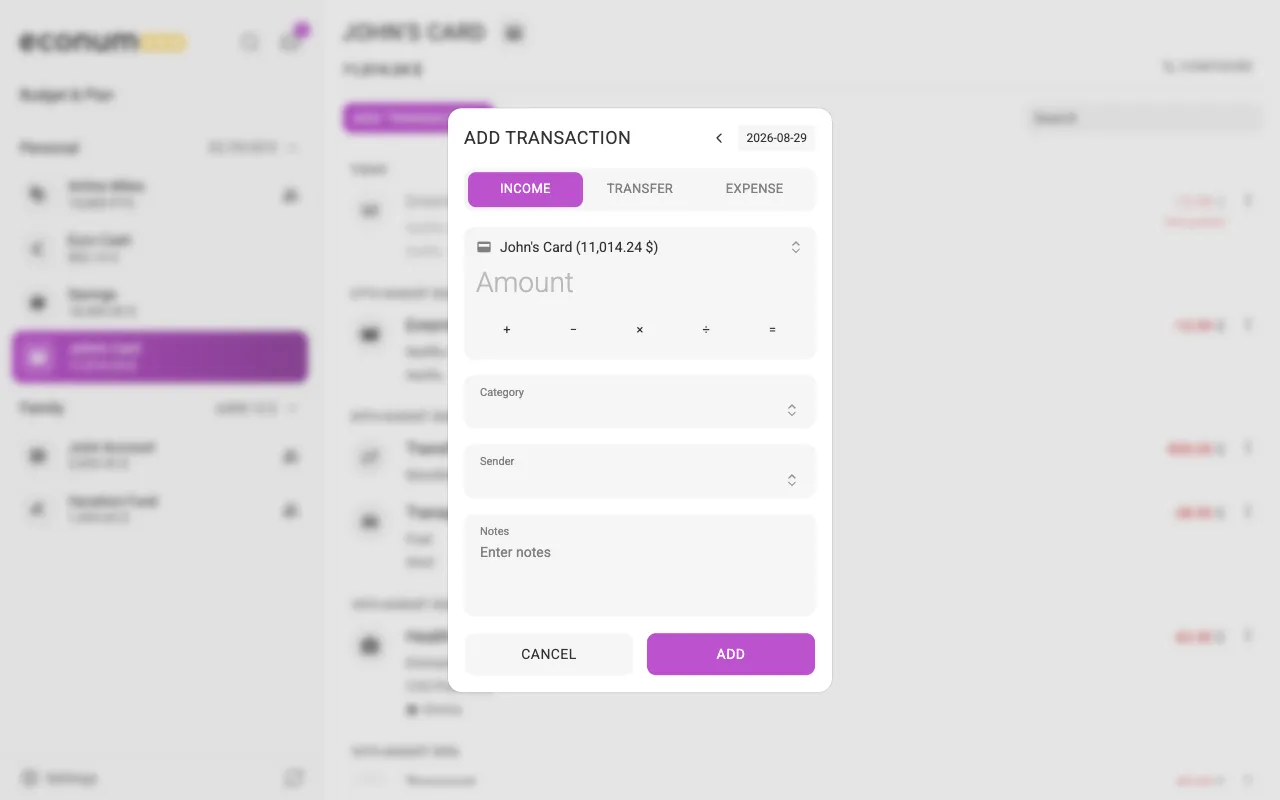
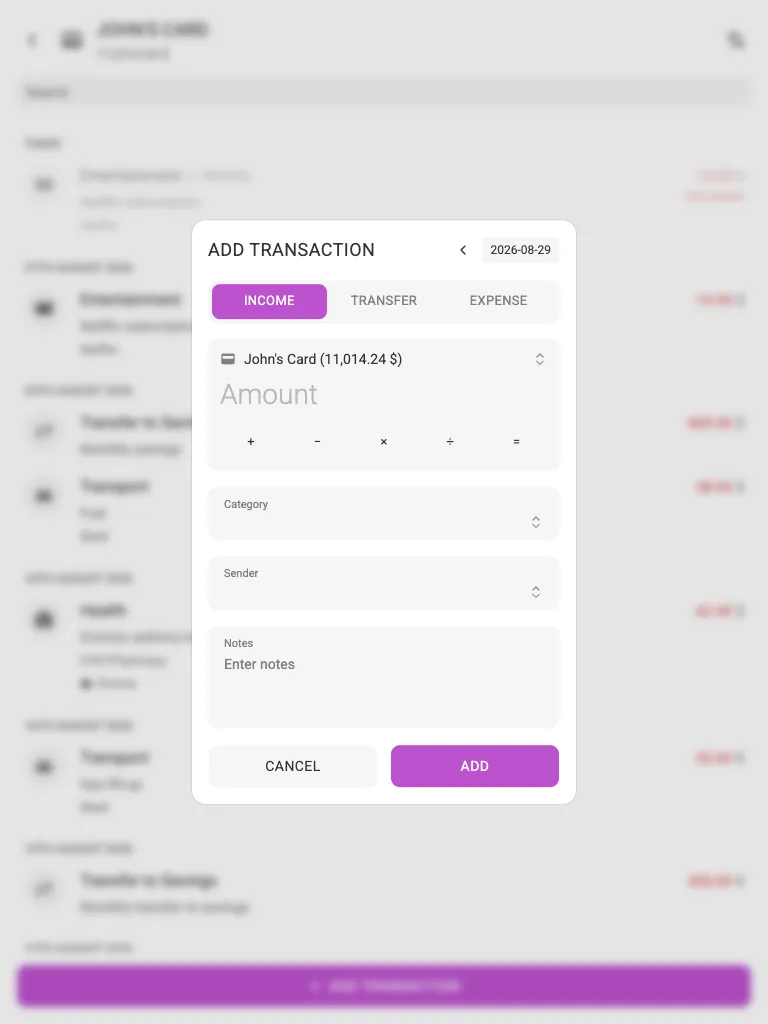
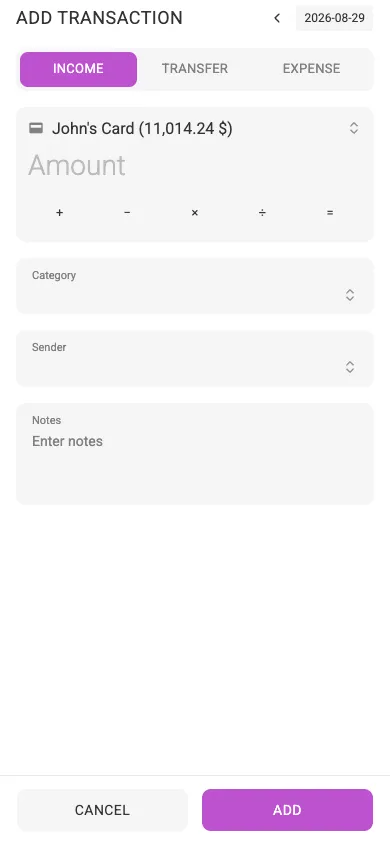
Recording an income works just like an expense: pick the account, enter the amount, and choose an income category (income categories are separate from expense categories). You can also set a sender — the person or company you received the money from.
Editing a transaction #
On desktop and tablet, open the three-dots menu on a transaction row and choose Edit. On mobile, tap the transaction to see its details, then press Edit.
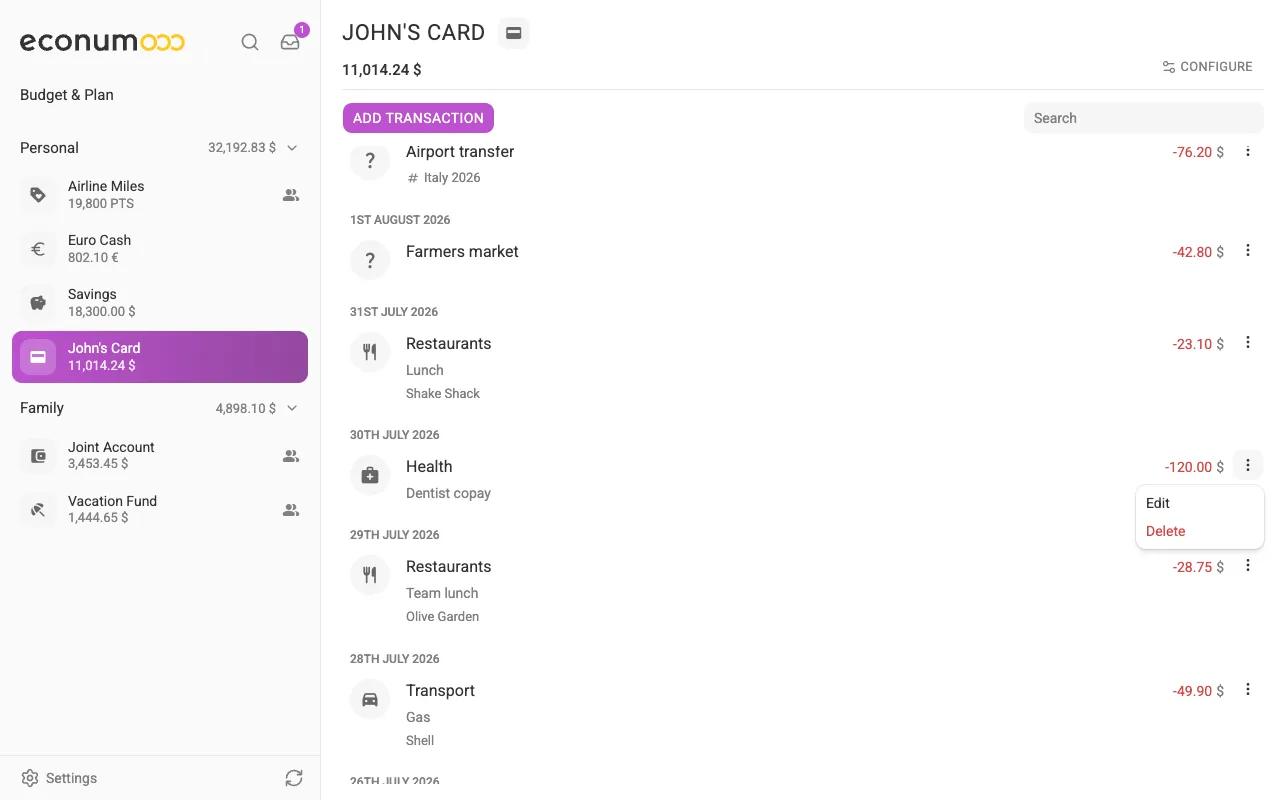
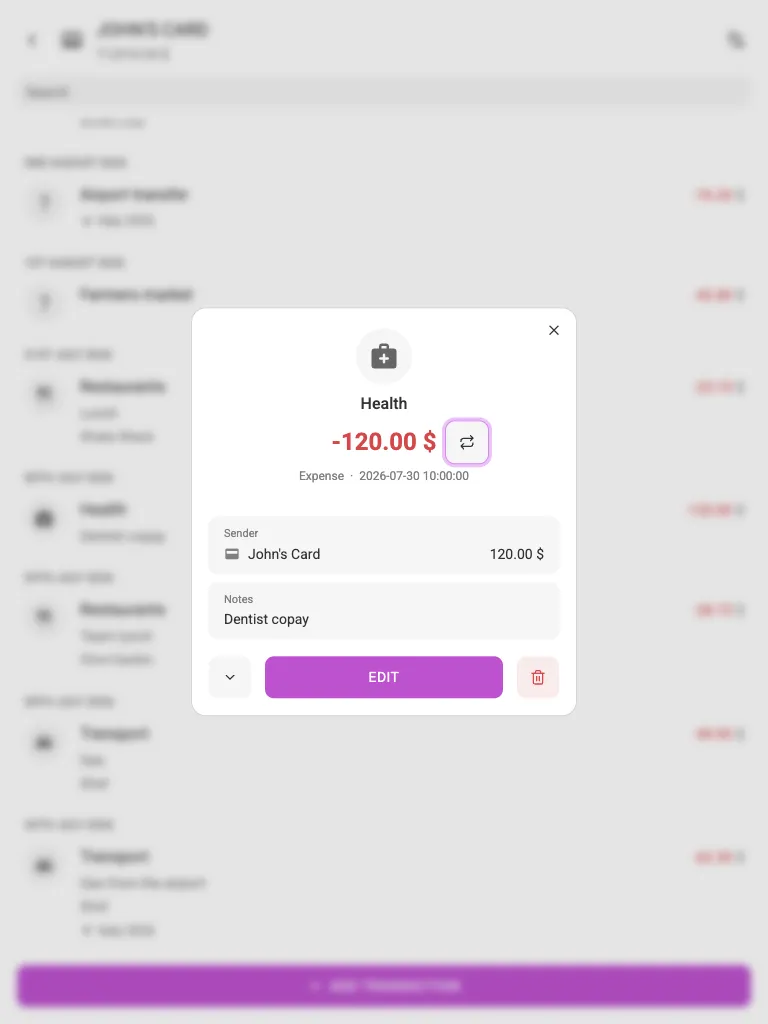
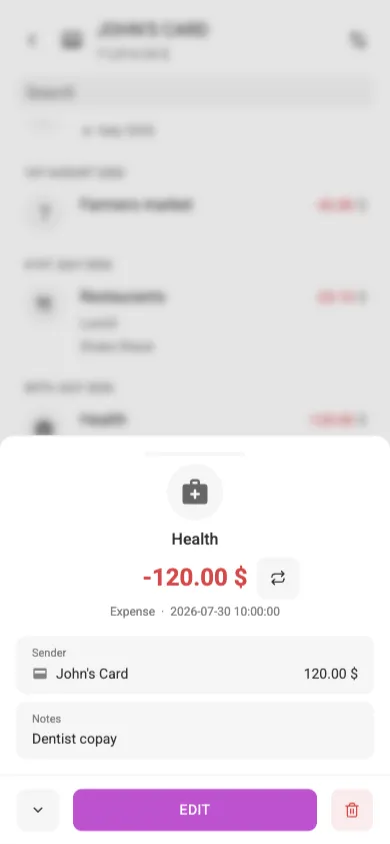
The edit dialog is the same as the add dialog, pre-filled with the transaction’s data:
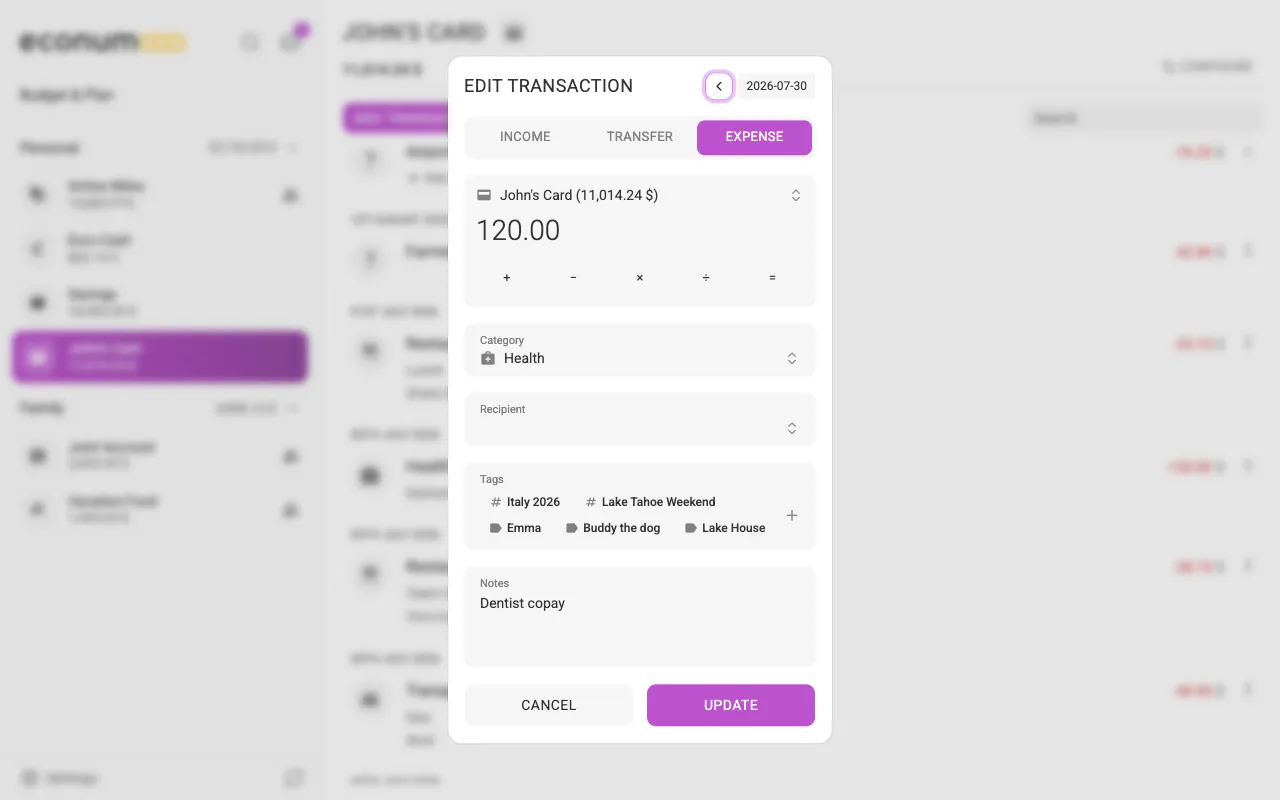
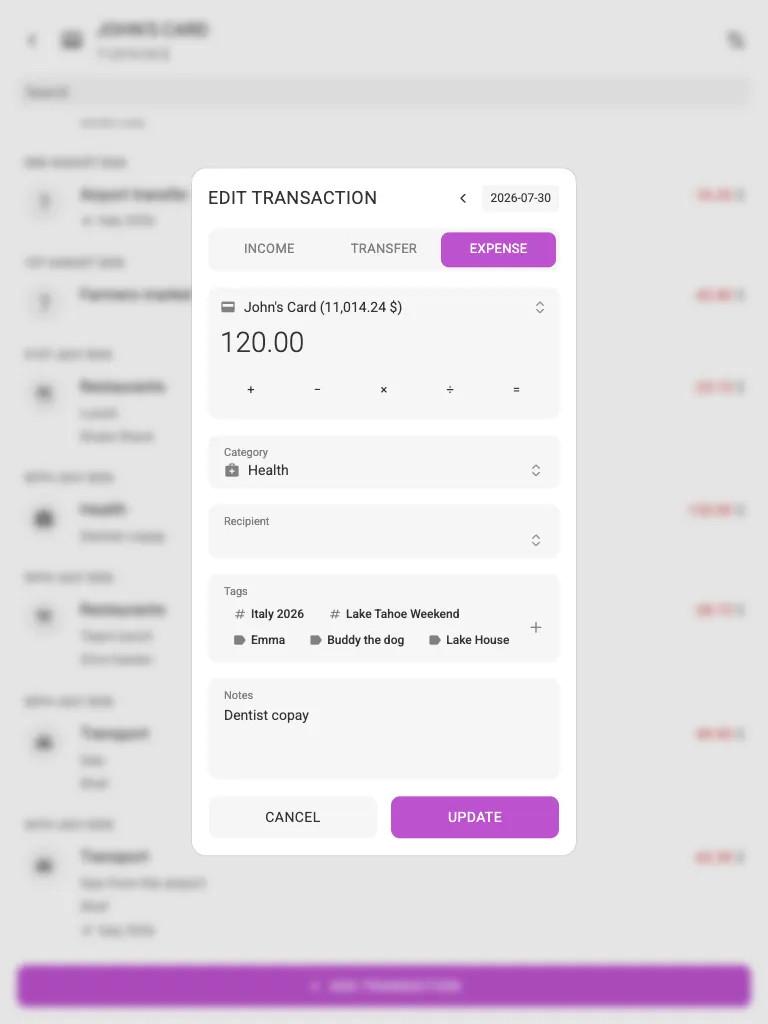
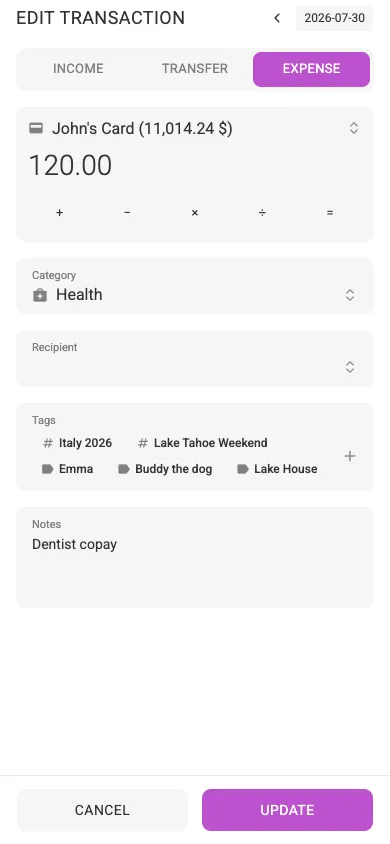
You can update any transaction in your own accounts, and in shared accounts where you have at least Manage transactions access.
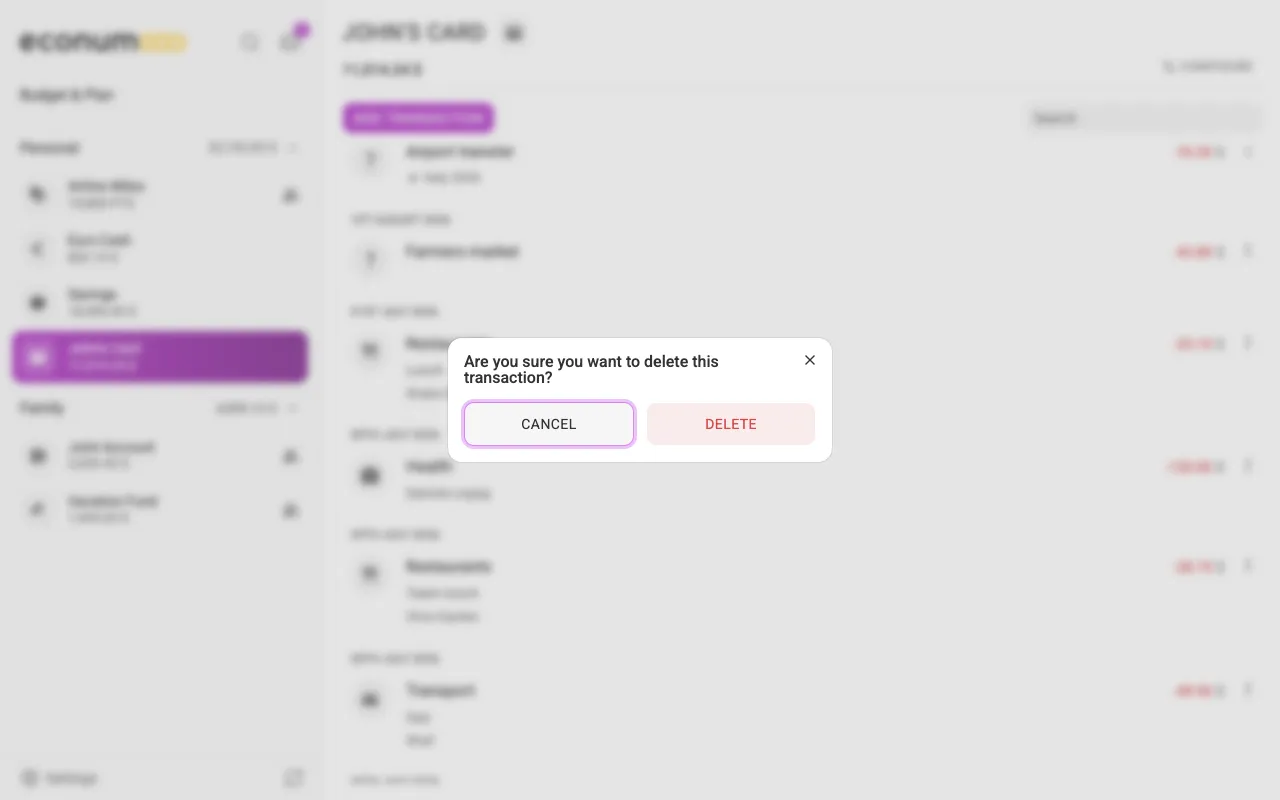
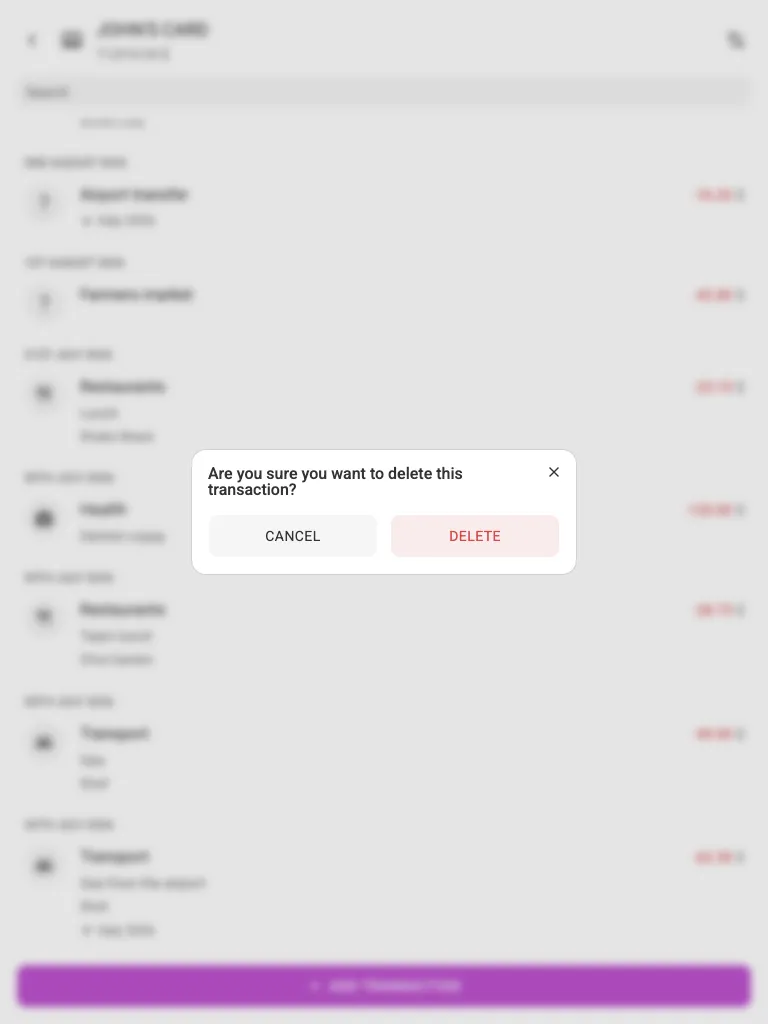
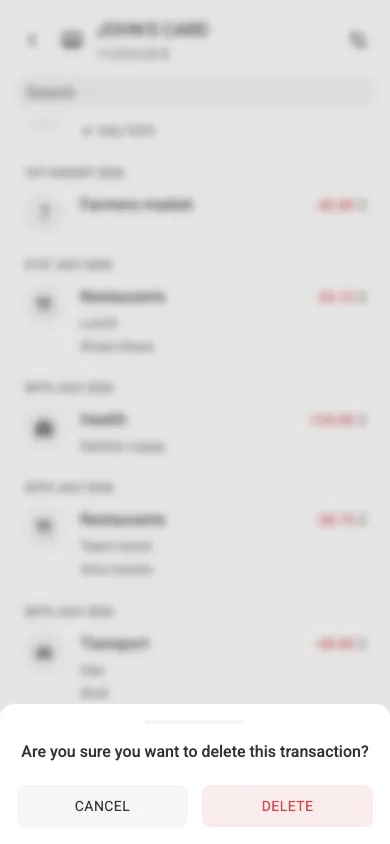
Deleting a transaction #
Choose Delete in the same menu (or in the details sheet on mobile) and confirm. You can delete any transaction except transactions in view-only accounts.