Recurring Transactions #
Rent, salary, subscriptions, an annual insurance premium — payments that repeat on a schedule don’t need re-typing every time. Set them up once in Settings → Recurring transactions, and Econumo keeps track of when each one is next due.
Econumo never posts anything behind your back. The next occurrence shows up on the account page as Not posted; you confirm it when the money actually moves, or skip it when it doesn’t. Either way the schedule rolls forward to the following date.
In this section #
Creating a recurring transaction #
Open Settings → Recurring transactions and press Add transaction (on mobile, the + button in the header). The dialog is the same one you use for ordinary transactions, with one extra field:
- Type — Expense, Income, or Transfer, chosen with the tabs at the top.
- Date — in the top-right corner. This is the date of the next payment; every following one is calculated from it.
- Account, Amount (with the same built-in calculator), Category, Recipient (Sender on an income schedule), Tags, and Notes — exactly as in a normal transaction.
- Repeats — how often the payment comes back: Weekly, Every 2 weeks, Monthly, Every 3 months, or Yearly.
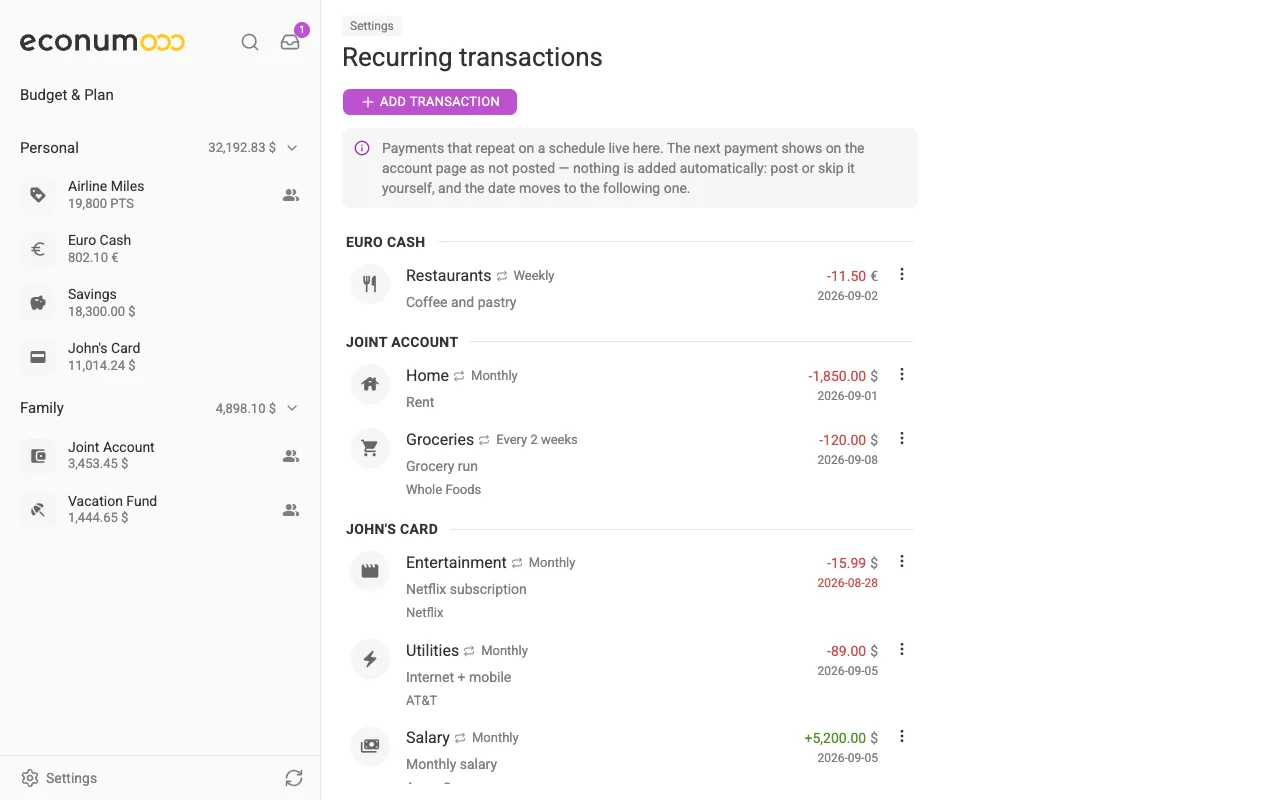
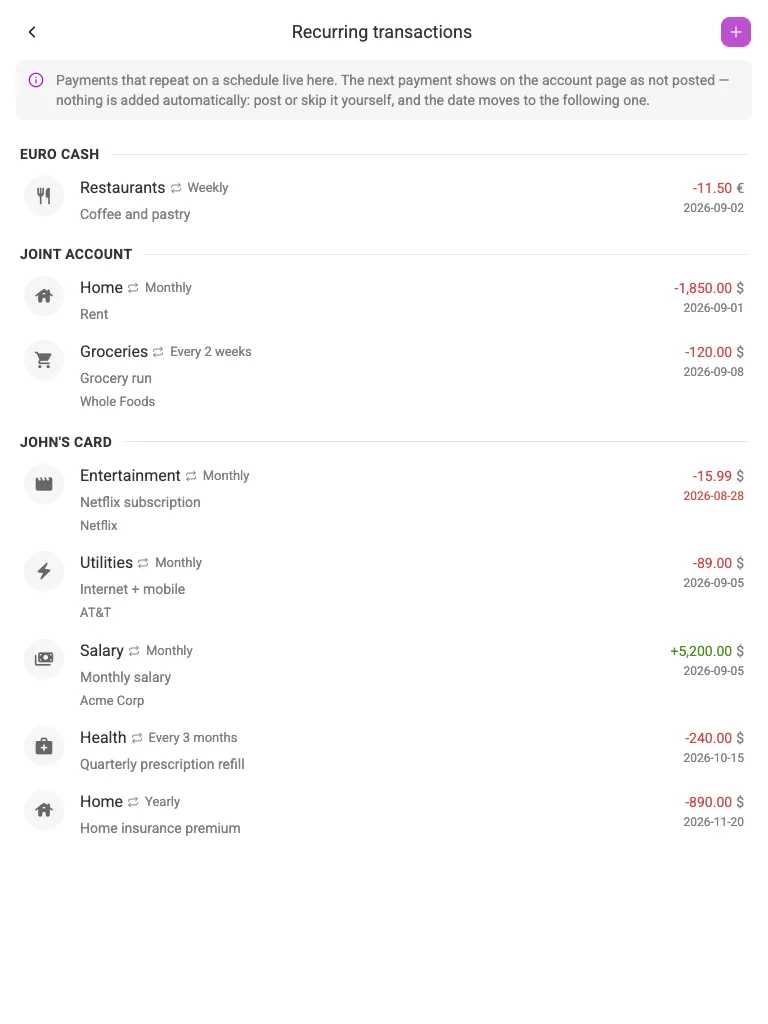
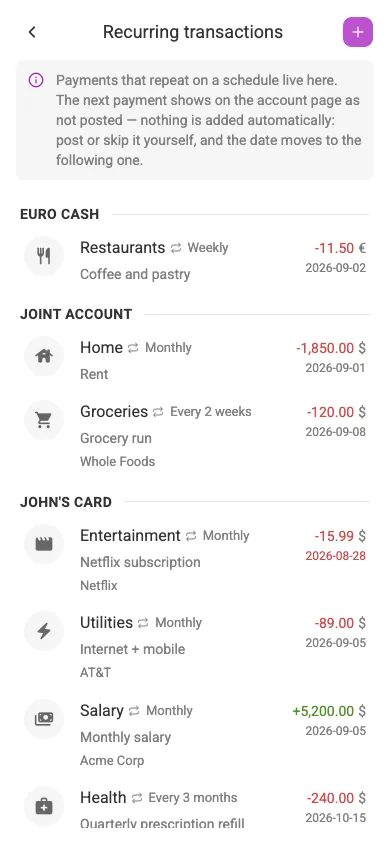
The list groups your schedules by account, showing the category and interval, your notes and recipient, the amount, and the date the next payment falls due.
Note Schedules follow the account, not the person. On a shared account everyone with access sees the same schedules and can post or skip them — in the screenshots, the rent and the grocery run on the Joint Account appear in both John’s list and Megan’s. Schedules on your own accounts stay private to you.
Posting or skipping a payment #
The next occurrence of every schedule appears in its account’s transaction list, greyed out and labelled Not posted. It is a placeholder: it does not affect your balance until you confirm it.
A schedule that is due today or overdue is pinned to the top of the account’s Today group, ahead of today’s real transactions — so it reads as something still waiting on you, not as something that already happened. A schedule that is still ahead of its next date is untouched: it stays grouped further down the list, at its own future date.
Select that row to open its Transaction details, which repeats the schedule’s interval at the bottom and offers two actions:
- POST — records the payment as a real transaction. Your balance and budget update, and the schedule moves on to the next date.
- Skip — the small step-over icon beside it. Passes on this occurrence without recording anything, and moves the schedule on to the next date.
The row’s own three-dots menu is not the place to look: on a Not posted placeholder it offers only Edit and Delete, both of which act on the schedule rather than on this occurrence.
Note A payment that is due or overdue shows its date in red, both in the list and on the account page — a quick way to spot what is waiting for you.
You can also post a payment straight from Settings → Recurring transactions: choose Post in the schedule’s three-dots menu (on mobile, tap the row to open the bottom sheet). The review dialog opens with its date chip pre-filled to today for a due or overdue schedule — not the missed scheduled date — though you can still edit it; a schedule that isn’t overdue keeps pre-filling its own scheduled date, as before.
Payments that are due today or overdue also collect in your Inbox, across all your accounts, under Scheduled transactions. Select one there to open the same Transaction details with POST and Skip, without going to the account first.
Editing and deleting a schedule #
Use the three-dots menu next to a schedule — on mobile, tap the row — and choose Edit to change any of its fields, or Delete to remove the schedule altogether.
Editing a schedule changes future payments only; transactions you have already posted stay exactly as they were. Deleting a schedule likewise leaves posted transactions untouched — it only stops future ones from being suggested.