User Guide #
This guide covers the essentials of using Econumo — from your first sign-in to family budgeting with shared accounts.
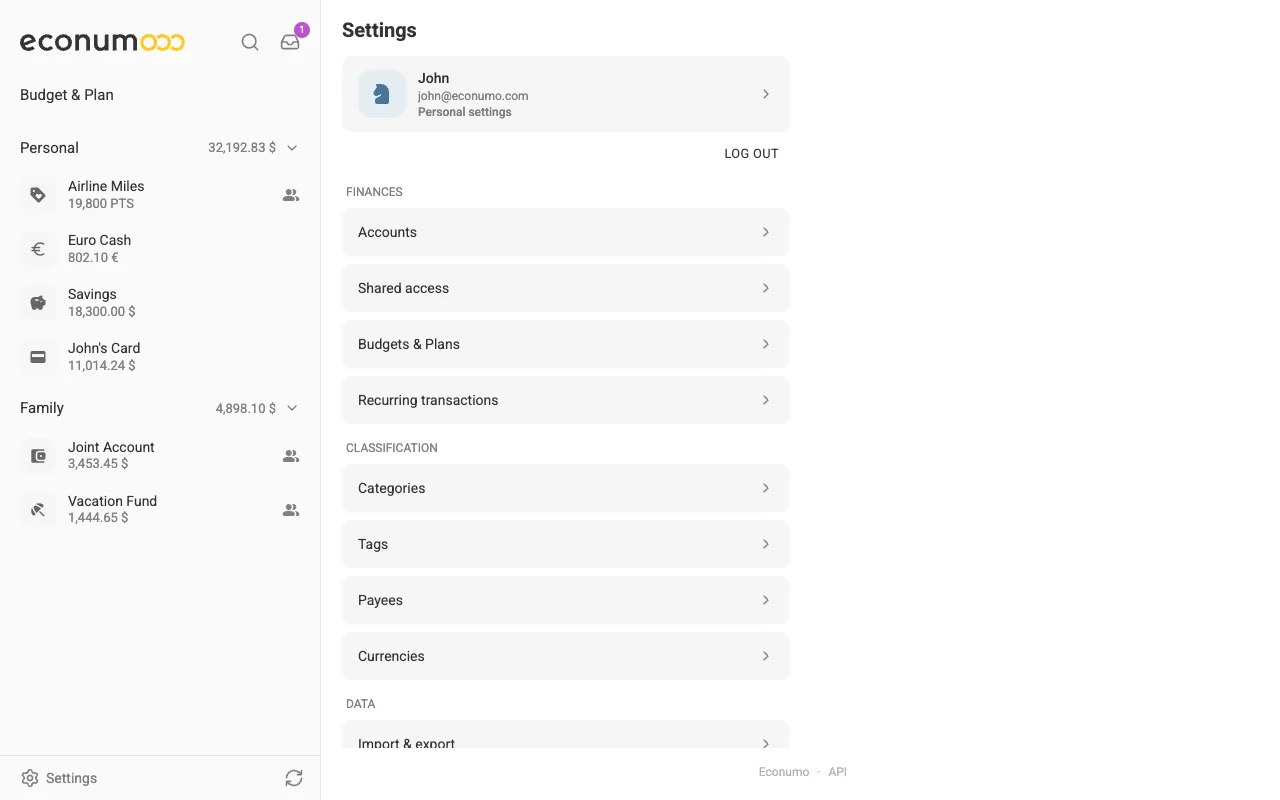
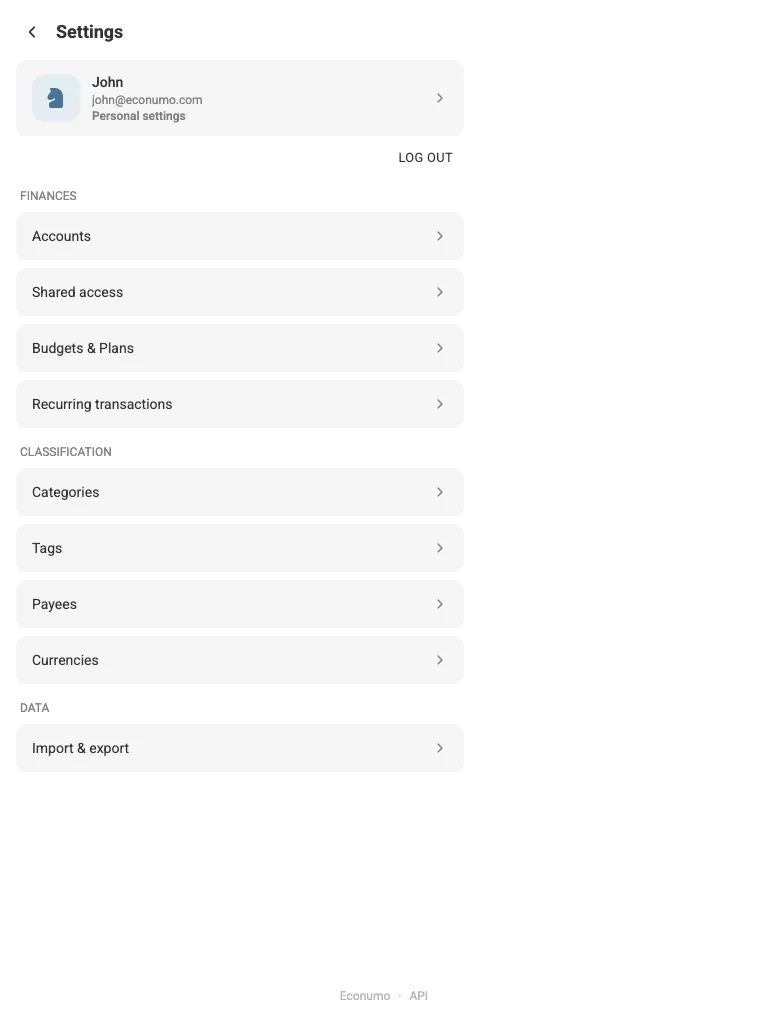
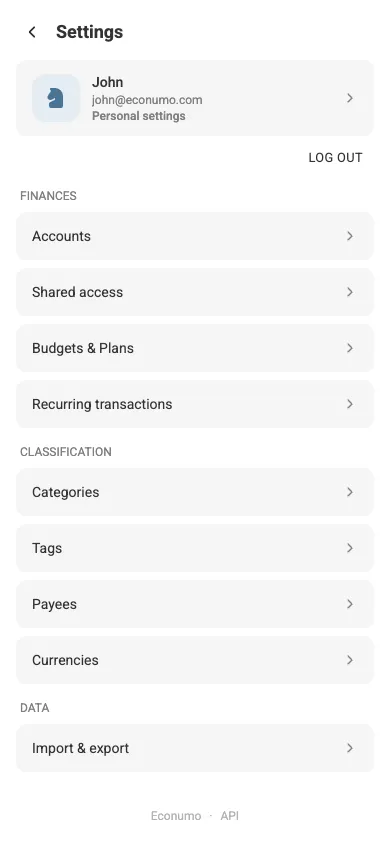
Econumo works the same way in a desktop browser, on a tablet, and on a phone. Throughout this guide, every screen is shown on all three form factors: the desktop layout with the sidebar, the compact tablet layout, and the mobile layout, where lists open full-screen and actions live in bottom sheets.
Contents #
- Introduction
- Accounts
- Transactions
- Recurring Transactions
- Search
- Inbox
- Classifications
- Budgets
- Plan
- Shared access
- Multi-Currency
- Currencies
- User profile
- CSV Import & Export
Sign Up #
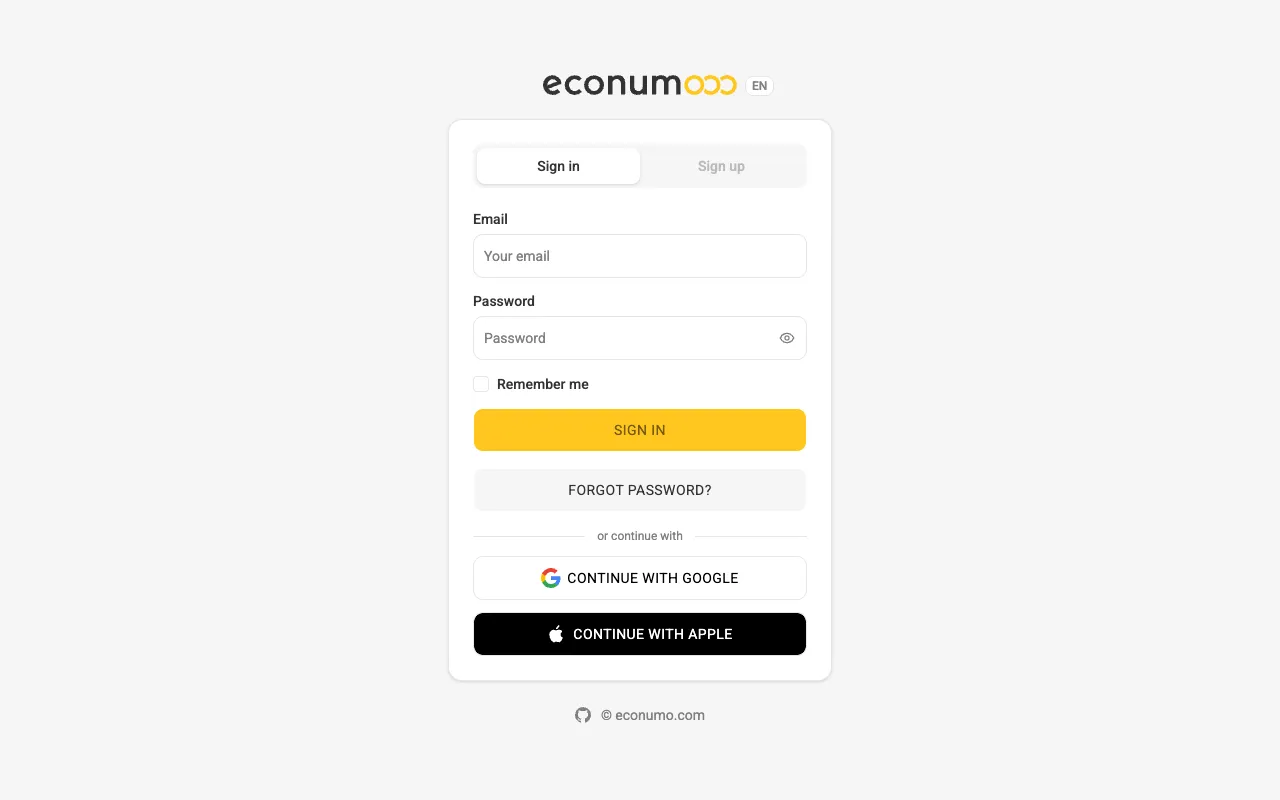
Switch to the Sign up tab and provide your name (or nickname), email, and password (entered twice to confirm). The form is the same whether you use Econumo at app.econumo.com or Econumo Self-Hosted.
Econumo at app.econumo.com A new account starts with a 45-day free trial, and no payment card is required to sign up. To keep using Econumo after the trial, make a one-time payment. See Econumo Editions for details.
Econumo Self-Hosted Administrators can disable open registration with the
ECONUMO_ALLOW_REGISTRATIONenvironment variable and create users from the CLI instead.
Sign In #
To sign in, enter the email and password you provided during sign-up. If your Econumo instance enables single sign-on, an or continue with divider below the form offers Google, Apple, or a custom OpenID Connect provider, alongside the password form.
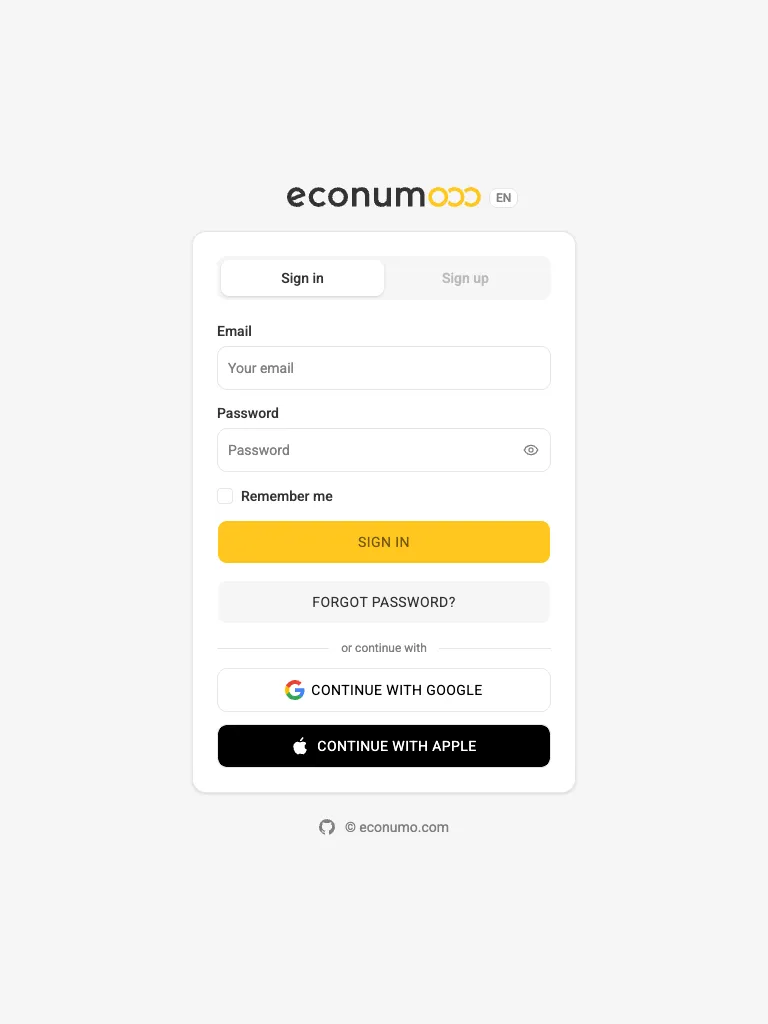
Note Signing in through a provider for the first time creates a new, passwordless account if your server allows registration. You can add a password afterwards from Settings → Personal settings → Change password, or link the provider to an account you already have from Sign-in methods.
Econumo Self-Hosted Administrators can turn password sign-in off entirely with the
ECONUMO_PASSWORD_LOGINenvironment variable. On such an instance the sign-in and sign-up screens show only the provider buttons — no email/password fields, no or continue with divider, and no Forgot password? link — and Settings → Personal settings → Security no longer offers Change password or Set a password.
Password Recovery #
Click Forgot password? on the sign-in screen, enter your email, and press Send code.
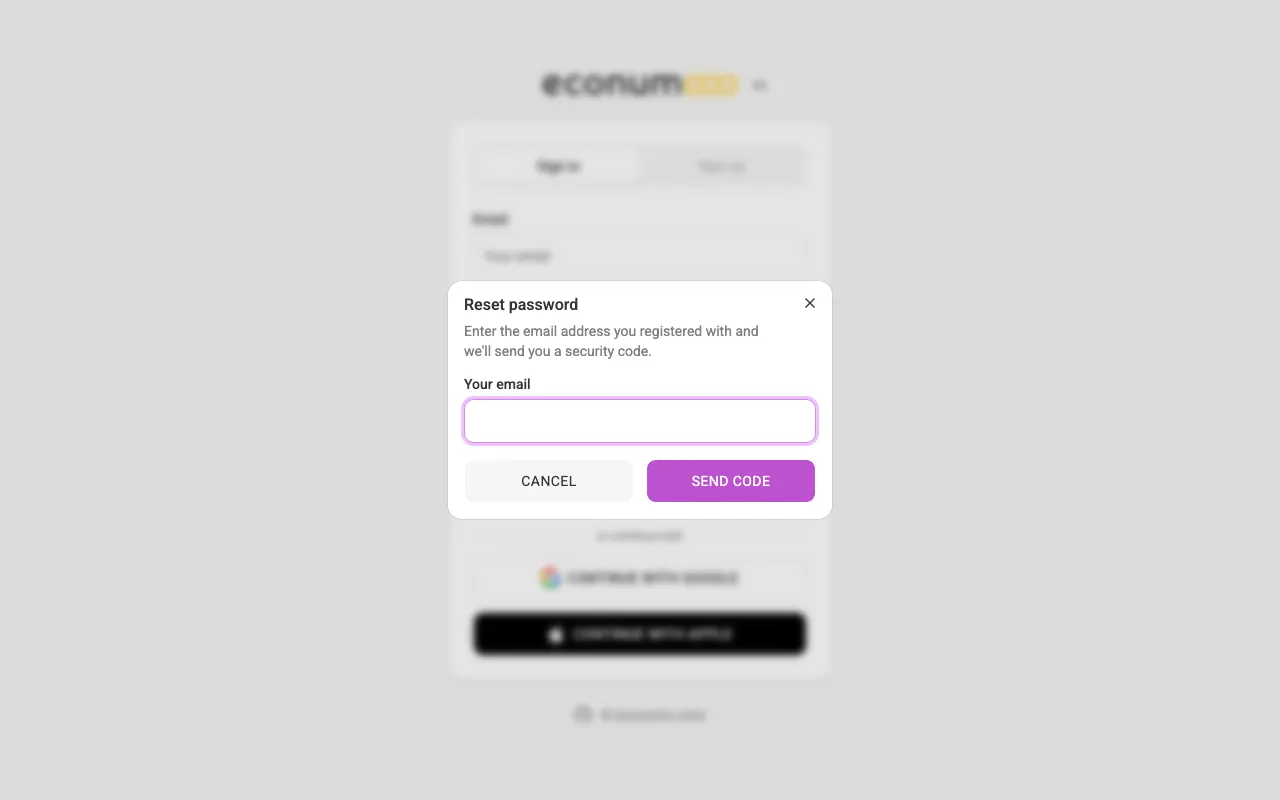
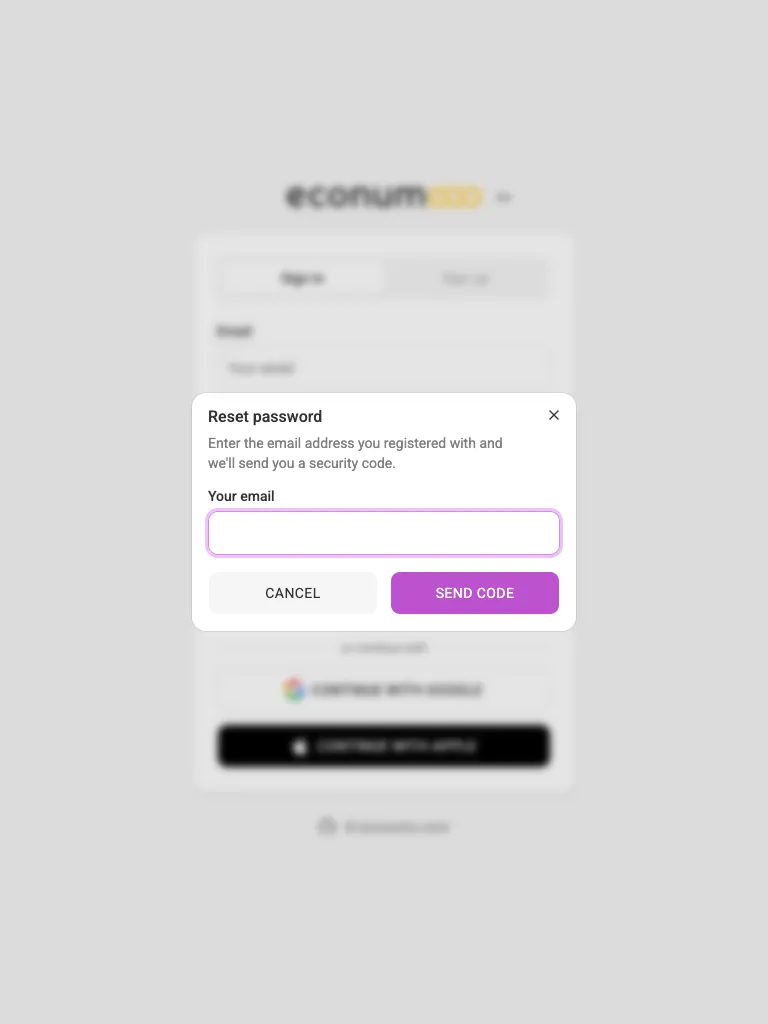
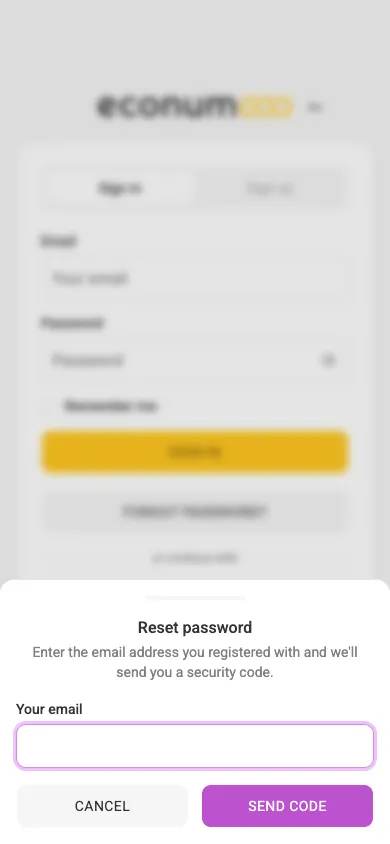
If an account exists with the provided email, you will receive a security code. Enter the code, choose a new password, and press Reset password:
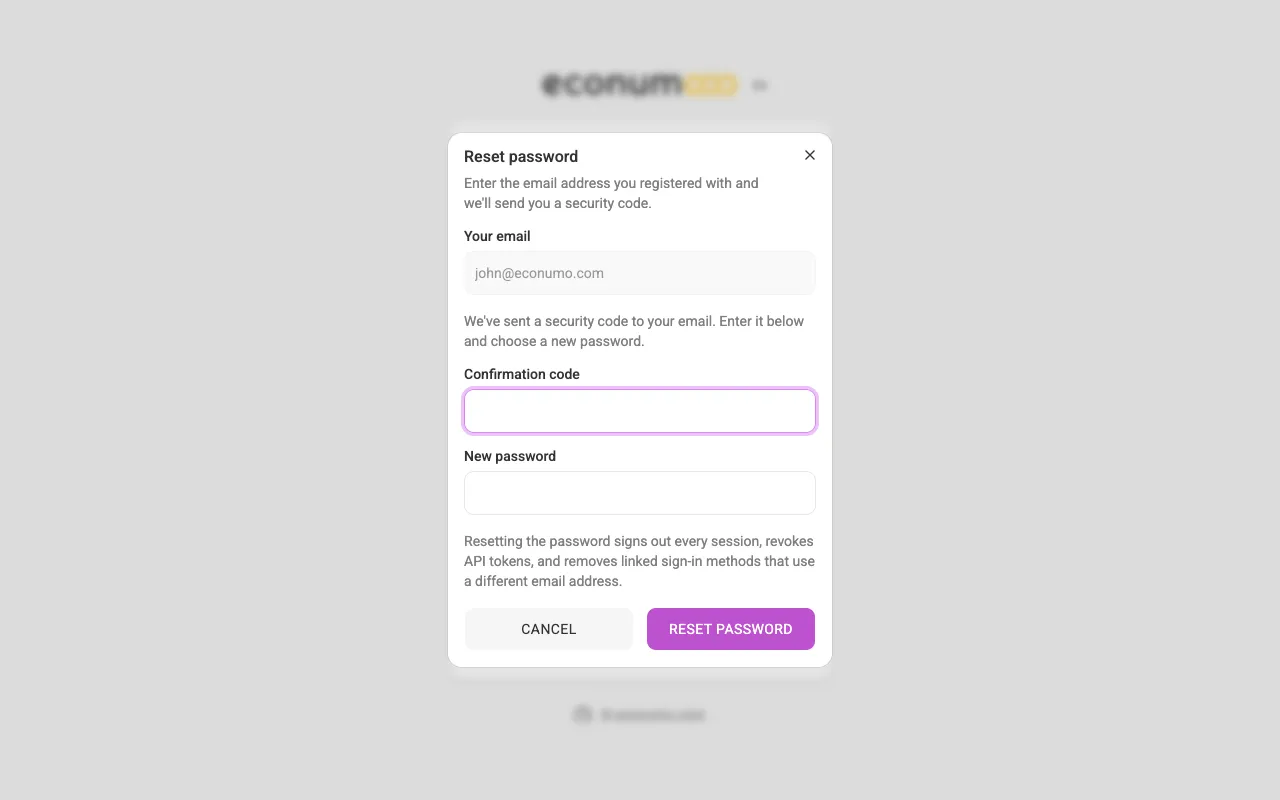
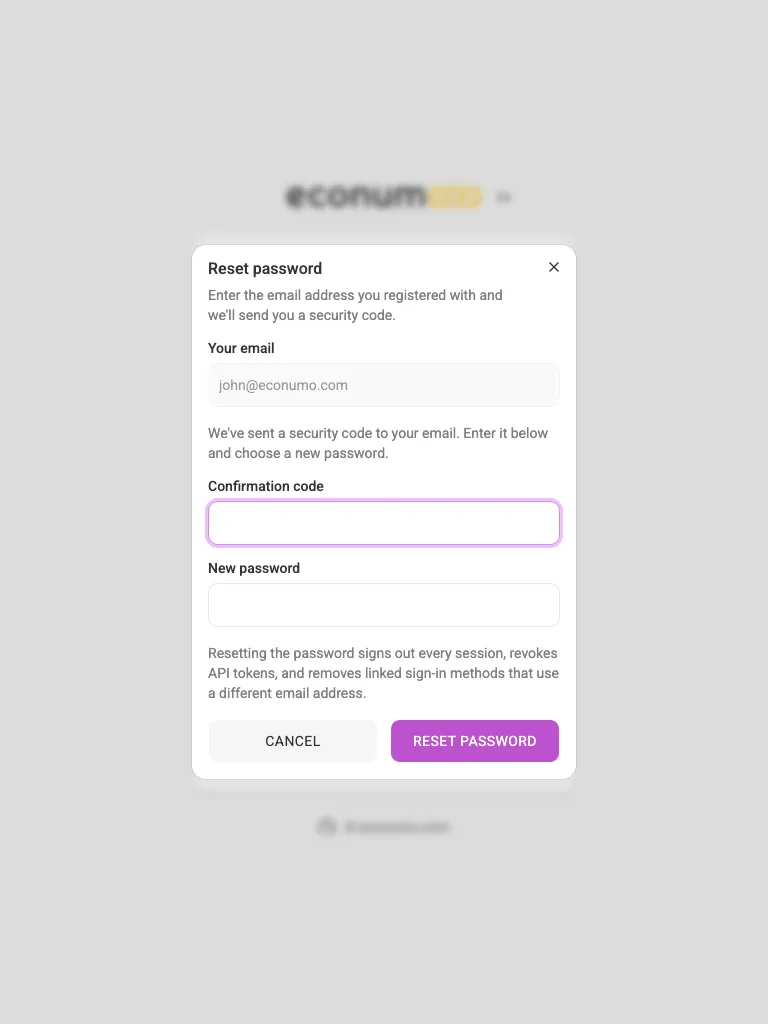
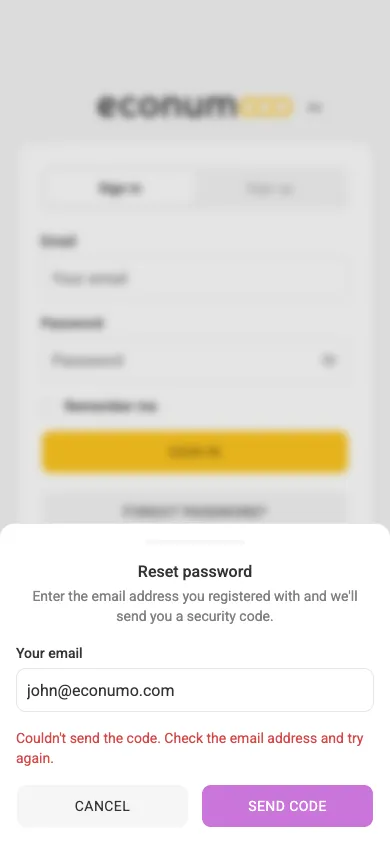
Note Resetting your password is a deliberate account reclaim, not just a password change: it signs you out everywhere, revokes API tokens, and unlinks any sign-in provider that vouches for a different email address than your own. Your shared budgets and connections are left alone.
Getting started checklist #
After your first sign-in, Econumo greets you with the Getting started checklist — a guided tour through the initial setup: add your accounts, enter (or import) your first transaction, review categories, tags, and payees, pick an avatar, connect with your partner, and create your budget. Each step links to the matching section of this guide, and completed steps are ticked off automatically.
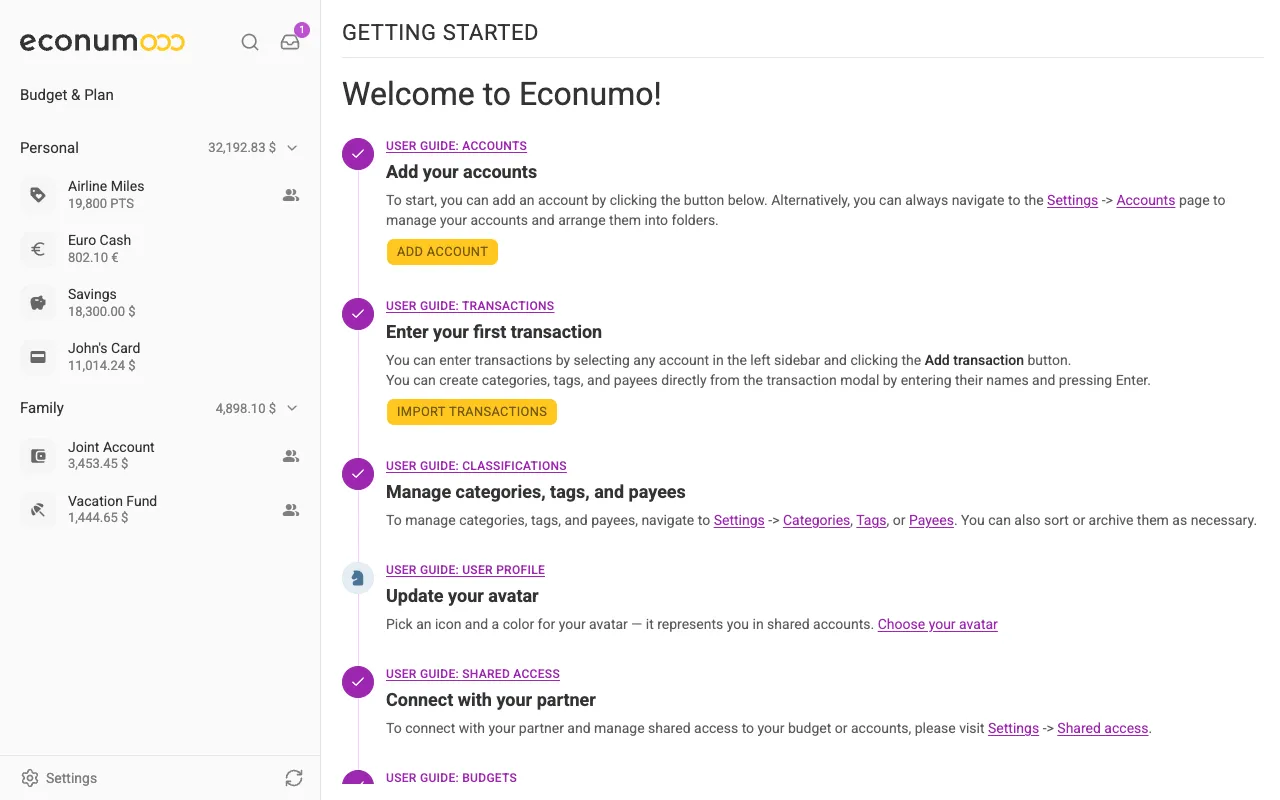
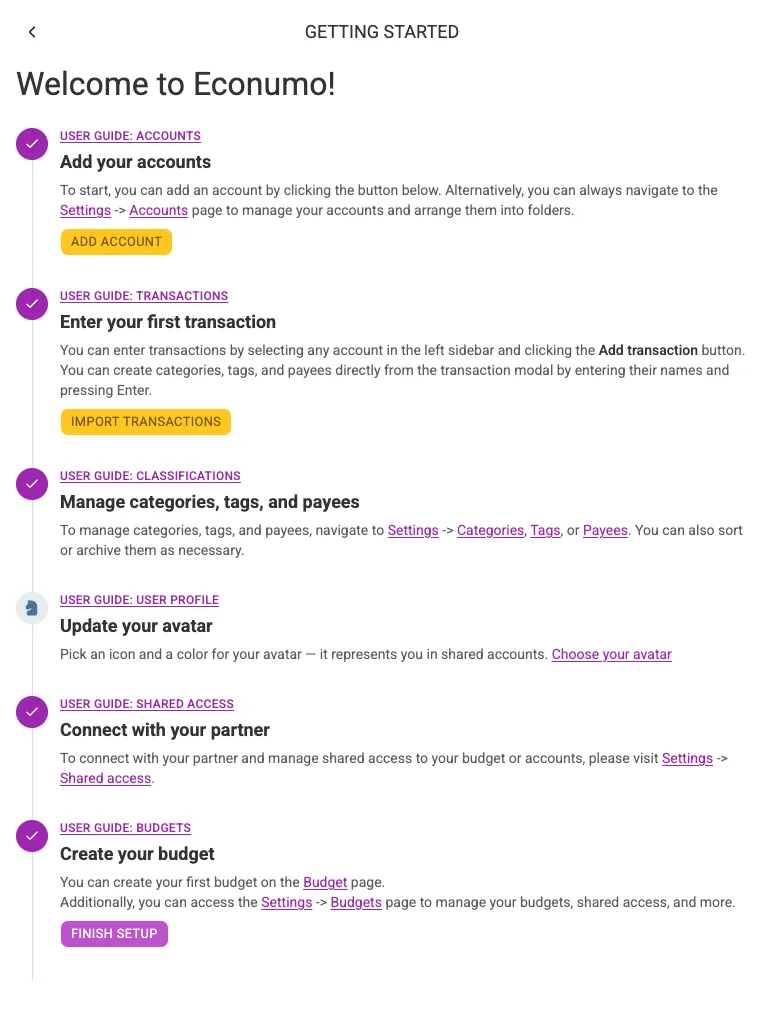
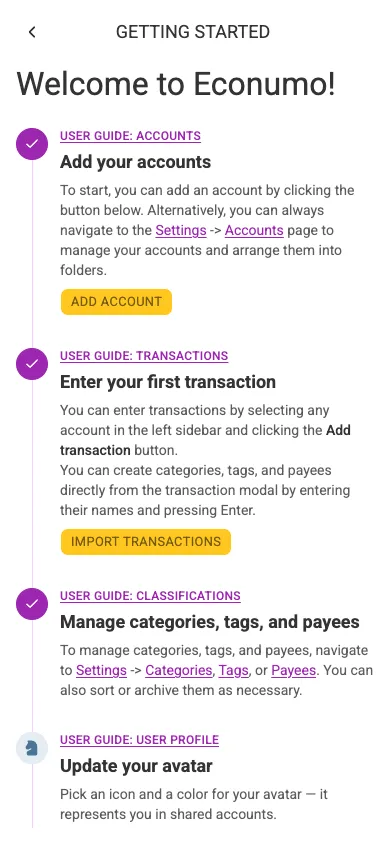
Work through the steps in any order — the shortcut buttons (Add account, Import transactions, Choose your avatar) open the same dialogs described later in this guide. When you are done, press Finish setup at the bottom of the list. Nothing is lost by finishing early: every step remains available in Settings.
Finding your way around #
Your accounts, grouped into folders, fill the sidebar on desktop and tablet and the home screen on mobile; Budget & Plan above them opens your budget and its Plan view. Next to the Econumo logo at the top sit two buttons: Search (also on Ctrl+K / ⌘K) and the Inbox, whose badge counts what is waiting on you.
Everything that is not day-to-day spending lives in Settings, in three groups:
- Finances — Accounts, Shared access, Budgets & Plans, and Recurring transactions.
- Classification — Categories, Tags, Payees and Currencies.
- Data — Import & export, for CSV import and export.
On desktop and tablet, open Settings from the bottom of the sidebar; on mobile, from the bottom of the home screen. The card with your name at the top opens your Personal settings, Log out sits right under it, and the API link at the very bottom opens the API reference for your instance.