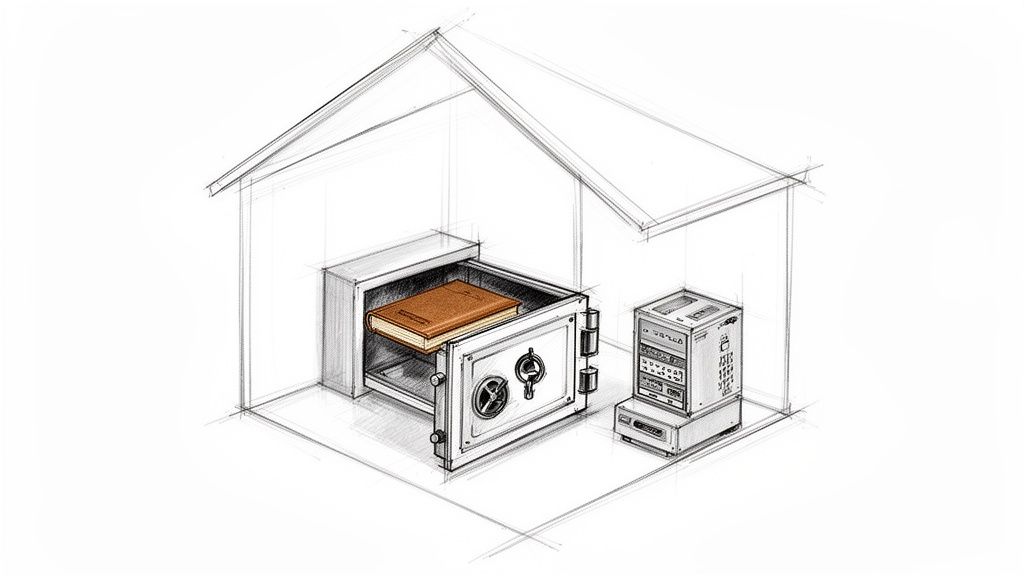
When you hear “self-hosted budget software,” you might think it’s something reserved for tech wizards. But the idea is actually pretty simple: it’s about taking back control of your financial data. Instead of handing your sensitive info over to a third-party cloud service, you run the budgeting app on your own private server.
It’s the difference between keeping your financial journal in a locked safe at home versus leaving it on a table in a public library. You hold the key.
Why Self Hosting Your Budget Is Gaining Momentum #
Let’s break down how this works. With popular cloud-based apps, all your transaction history, account balances, and spending habits live on their servers. It’s convenient, sure, but it also means you’re putting a huge amount of trust in their security and privacy promises.
Self-hosting flips that model completely. You install the software on hardware you own—anything from a tiny Raspberry Pi to an old laptop collecting dust. Your financial data never has to leave your home network.
This desire for data ownership is catching on fast. The self-hosting market, currently valued at USD 15.6 billion, is expected to explode to USD 85.2 billion by 2034. It’s clear that people are increasingly demanding more control over their digital lives.
Let’s do a quick side-by-side to make the distinction crystal clear.
Cloud vs Self Hosted Budget Software at a Glance #
This table breaks down the fundamental differences between using a standard cloud-based budgeting app and a self-hosted solution.
| Feature | Cloud Budgeting (e.g., Mint) | Self Hosted Budgeting (e.g., Econumo) |
|---|---|---|
| Data Location | Company servers, often in the cloud | Your own server, at home or rented |
| Privacy | You trust the company’s privacy policy | You have 100% control over your data |
| Cost Model | Monthly/annual subscription fee | Typically free (open-source) or a one-time cost |
| Customization | Limited to features offered by the company | Highly customizable, especially open-source options |
| Data Longevity | Service could shut down or change terms | Your data is yours forever |
As you can see, the trade-off is often between convenience and control. While cloud services are plug-and-play, self-hosting puts you in complete command.
The Core Benefits of a Self Hosted Approach #
So, what are the real-world advantages of going this route? It’s more than just privacy; it’s about creating a financial system that works for you, not for a corporation.
- Complete Data Privacy: Your financial data is some of the most personal information you have. Self-hosting guarantees you’re the only one who sees it.
- No Subscription Fees: Many self-hosted tools are free, especially community editions. This means no more recurring monthly or annual payments just to manage your own money.
- Total Customization and Control: You aren’t stuck with the features a big company decides to give you. With open-source software, you can often tweak and change things to fit your specific needs.
- Long-Term Data Access: Cloud services come and go. They can get acquired, pivot, or just shut down, and your historical data might vanish with them. When you self-host, your records are yours for good.
By running your own financial software, you transform from a passive user of a service into the active owner of your financial toolkit. It’s a fundamental change in mindset that puts you firmly in the driver’s seat of your financial life.
This approach is perfect for families who want a central, private place for their finances, individuals who care deeply about their digital footprint, or really, anyone who’s tired of paying for software they could essentially own. You can explore more about the benefits of a self hosted finance manager to see how this plays out in practice. In the next sections, we’ll get into the details of what to look for in a great self-hosted tool.
5 Essential Features to Look for in Budgeting Software #
Beyond the big draws like privacy and lower costs, the real magic of any self-hosted budget software is in what it can actually do. A truly great tool doesn’t just crunch numbers—it helps you tackle real-world money challenges and molds itself to how you live. The right features are what separate a simple digital spreadsheet from a command center for your entire financial life.
As you start looking at different options, think about which features genuinely match your lifestyle. A couple planning for their first home has very different needs than a freelancer juggling clients across the globe. Getting clear on these core functions will help you pick software that feels like it was made just for you.
And you’re not alone in looking for better tools. As living costs rise, more and more households are turning to structured planning. The personal finance software market is expected to jump from USD 1.43 billion in 2026 to an impressive USD 2.57 billion by 2034. It’s a clear sign that people are getting serious about managing their money smarter. You can read a full market growth analysis from Fortune Business Insights for the details.
Privacy by Design #
With self-hosted software, privacy isn’t just a feature—it’s the whole point. The best tools are built with privacy by design, meaning they’re engineered from the very beginning to keep your information safe. No third-party trackers, no data mining, and definitely no selling your spending habits to the highest bidder.
Since the entire application lives on your own server, your sensitive financial data never has to touch a corporate cloud. This is the ultimate peace of mind, and it’s a huge reason why people go the self-hosted route.
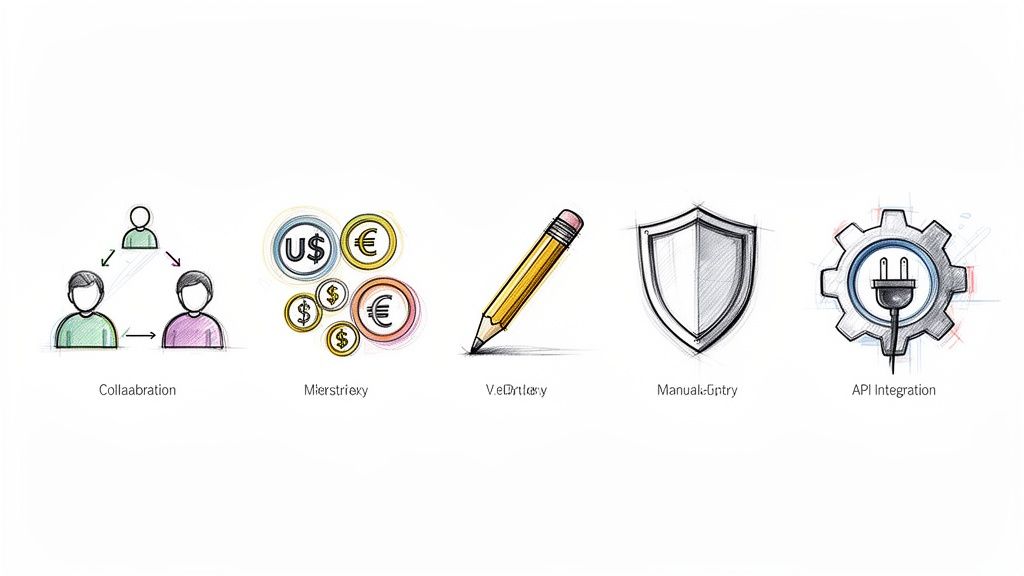
User Collaboration for Shared Goals #
Let’s face it, money is often a team sport. For couples, families, or even business partners, strong user collaboration is a must-have. This lets multiple people log in and manage the same accounts from their own devices, keeping everyone in the loop.
Think about a couple saving for a house. With a good collaborative tool, they can:
- Track shared expenses as they happen, ending the “did you pay the power bill?” dance.
- Watch your savings goals grow together, which is a huge motivator.
- Manage joint accounts and bills from a single, shared dashboard.
It turns budgeting from a solo chore into a shared mission, making sure you’re both pulling in the same direction.
Multi-Currency Support for Global Citizens #
If you’re a digital nomad, an expat, or just someone who deals with money in more than one country, multi-currency support isn’t a luxury; it’s essential. This feature lets you track accounts and transactions in their native currencies while still giving you a single, clear view of your total net worth.
Without it, you’re stuck with a mess of spreadsheets and manual conversion rates—a process that’s both boring and easy to get wrong. A good system handles all that heavy lifting for you, so you can manage your finances whether you’re earning in dollars, spending in euros, or investing in yen.
The right software should simplify your financial life, not complicate it. Multi-currency support removes a major headache for anyone whose finances cross international borders, providing clarity where there would otherwise be confusion.
Mindful Spending with Manual Entry #
While automatically syncing with your bank is convenient, don’t overlook the power of manual entry. There’s something about the simple act of typing in each purchase that forces you to stop and think about where your money is going. This kind of mindfulness is one of the most effective ways to break bad spending habits.
It creates a real, tangible connection to your financial decisions that you just don’t get with automated imports. For anyone serious about making a change, manual entry is an incredibly valuable tool for building discipline. We touch on this approach a lot in our article on open-source personal finance software.
API Access for Customization #
For the tech-savvy crowd who loves to tinker, an Application Programming Interface (API) is the key to unlocking next-level customization. An API is basically a way for different pieces of software to talk to each other. For your budget, this means you can build your own automations and connect your finances to other tools.
For instance, you could:
- Set up a custom dashboard on a smart display in your kitchen showing your daily spending.
- Connect your budget app to a service that your bank doesn’t officially support.
- Pull financial data into your own custom scripts for deep analysis or unique reports.
It’s not for everyone, but for advanced users, an API provides the ultimate freedom to build a financial system that works exactly the way you want it to.
Understanding the Technical Setup #
When you hear “run your own server,” you might picture a room full of whirring, expensive machines in a freezing-cold data center. But for self-hosted budget software, the reality is way simpler and much more down-to-earth. Let’s pull back the curtain on the technical side of things—it’s more about following a few clear steps than needing a computer science degree.
Think of it like this: instead of renting an apartment from a massive management company (a cloud service), you’re just setting up a small, private room in your own home. You get to decide what goes inside and who holds the key. This gives you total control without the hefty price tag.
Choosing Your Hardware #
First up, you need a physical machine to be your server. The good news? You almost certainly don’t need to buy anything new or fancy. Most budgeting apps are surprisingly lightweight and can run happily on very modest hardware.
Here are a few popular and wallet-friendly options:
- An Old Laptop or Desktop: That computer collecting dust in the closet? It’s a perfect candidate. It already has everything it needs, and giving it a new purpose is a fantastic way to recycle old tech.
- A Raspberry Pi: These tiny, credit-card-sized computers are legendary in the self-hosting community. They’re built to sip electricity, costing just a few dollars a year to run 24/7.
- A Mini-PC: These are the compact little boxes you often see in offices. You can find them refurbished for a steal, and they offer a bit more punch than a Raspberry Pi while staying small and quiet.
The main point is that you can probably start with what you already have. Your server doesn’t need to be a beast; it just needs to be reliable and left on.
The Software That Powers It All #
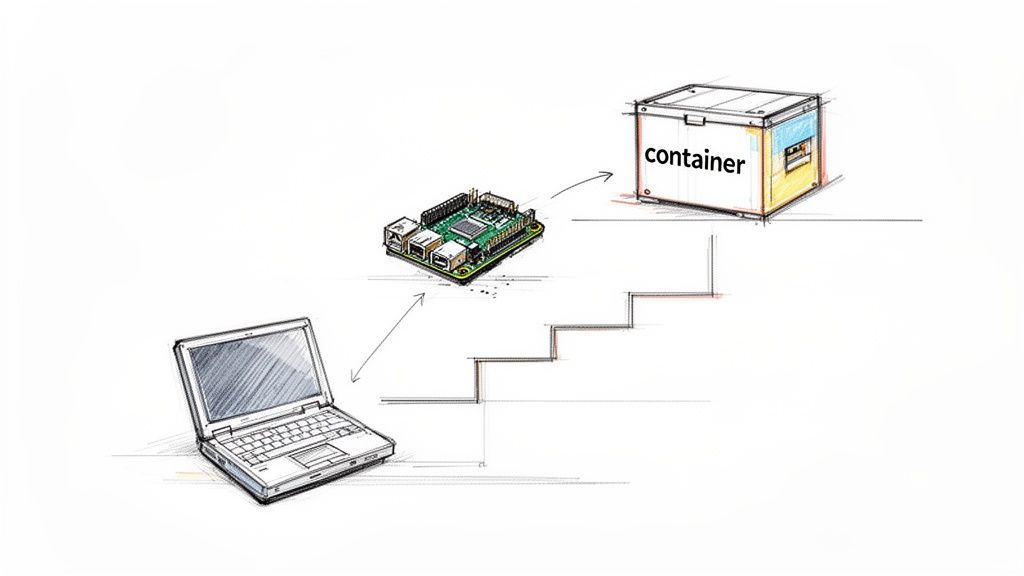
Once you’ve picked your hardware, you need the right software to make it all work. This is where modern tools have made self-hosting so much easier than it used to be. You’ll mainly deal with two things: an operating system and a tool like Docker.
The foundation of your server will be an operating system like Linux. It’s free, rock-solid, and incredibly secure—which is why it runs the vast majority of the internet. You don’t need to become a Linux guru; you’ll just follow some simple instructions for the initial setup.
But the real game-changer here is Docker. Think of Docker as a standardized shipping container for software. Instead of you having to deal with a messy installation, the developer packs the entire application—code, libraries, and settings—into one neat little box.
To get the software running, you just tell your server to download and start this pre-made container. It completely sidesteps the old headaches of managing dependencies and wrestling with configurations. This container approach is what makes setting up modern self-hosted apps so straightforward, even for beginners. You can get a powerful, private budgeting system up and running with very little fuss.
Your Step-by-Step Installation Checklist #
Alright, let’s get our hands dirty. Setting up your own self-hosted budget software isn’t as scary as it sounds. Think of it less like hardcore programming and more like building a LEGO set—you just need to follow the instructions, piece by piece.
This checklist will walk you through the entire process, from a powered-off machine to a fully functioning, private dashboard for your finances. We’ll break it down into six simple phases so you can focus on one thing at a time and get it done right.
Step 1: Choose Your Hardware #
First things first, your software needs a place to live. This is your server, but don’t let that word intimidate you. You don’t need a massive, power-hungry machine. The goal is to pick something that fits your budget and how comfortable you are with tech.
Here are a few of the most popular routes people take:
- An Old Computer: That dusty laptop or desktop sitting in the closet? It’s a fantastic starting point. It’s free, it works, and you can get it up and running almost immediately.
- A Single-Board Computer (SBC): Tiny powerhouses like a Raspberry Pi are perfect for this. They sip electricity, costing just a few bucks a year to run 24/7, and you can tuck them away on a shelf and forget about them.
- A Rented Virtual Private Server (VPS): For a few dollars a month, you can rent a small server from a provider like DigitalOcean or Linode. This is a great option if you don’t want to deal with any physical hardware at home.
For anyone just starting out, I almost always recommend just repurposing an old computer. It’s the cheapest and fastest way to see if self-hosting is right for you.
Before we move on, let’s quickly break down these hardware choices.
Hardware Options for Your Self-Hosted Server #
| Hardware Option | Estimated Cost | Pros | Cons |
|---|---|---|---|
| Old Computer | $0 (if you have one) | Free, powerful enough, easy to start. | Bulky, higher power consumption. |
| Raspberry Pi | $35 - $75+ | Very low power use, tiny, quiet. | Can be slow, requires buying hardware. |
| VPS (Cloud) | $5 - $10 / month | No physical hardware, accessible anywhere. | Monthly cost, less “true” self-hosting. |
Ultimately, there’s no wrong answer here. The best choice is the one that gets you started without a lot of fuss.
Step 2: Install the Operating System and Docker #
Once you have your machine, it’s time to give it a brain. Most self-hosting projects run on Linux, which is a free, incredibly stable, and secure operating system. If you’re new to it, don’t sweat it. For a project like this, you’ll only need to learn a handful of simple commands.
After Linux is running, you’ll install a tool that has completely changed the game for home servers: Docker.
Think of Docker like a standardized shipping container for software. Developers package their entire app—code, settings, everything it needs to run—into a neat little box. All you have to do is tell Docker to run that box. No more messing with complex installations.
This container approach is what makes modern self-hosting so accessible. It takes what used to be a weekend-long technical headache and turns it into a few minutes of work.
Step 3: Download and Configure the Application #
Now for the fun part—installing the actual budget software! We’ll use the process for a community edition like Econumo as an example. It’s usually a simple three-step dance involving a configuration file and a single command.
- Create a Directory: First, make a new folder on your server. This is where the application will store all its data.
- Download the Configuration File: Next, you’ll grab a file named
docker-compose.yml. This file is the instruction manual that tells Docker exactly what to do. - Run the Installer Command: Open your command line, go into the directory you just made, and run the command from the software’s documentation. It’ll look something like
docker compose up -d.
That one command tells Docker to read the instructions, download everything it needs, and start the software quietly in the background. And just like that, it’s running.
Step 4: Complete the Initial Setup #
With the software up and running on your server, you can now access it from any web browser on your home network. The very first time you visit the page, you’ll be greeted with a friendly setup wizard.
This part is straightforward and usually just involves:
- Creating your main admin account with a username and a strong password.
- Picking your default currency and language.
- Confirming a few basic settings.
Once that’s done, you’re in! You can now start exploring your brand-new, completely private financial dashboard.
Step 5: Secure Your Instance #
Okay, we’re dealing with financial data here, so security is a big deal. The good news is that because it’s on your own network, it’s already pretty private. But we can make it even better with a couple of basic steps.
First, enable the built-in firewall on your server. This acts like a bouncer at a club, blocking any unauthorized connection attempts. It’s a simple and effective first line of defense.
Second, keep your software updated. Most self-hosted apps make this really easy. It’s often just a matter of running one or two commands to download the latest version of the Docker container. This ensures you always have the most recent security fixes.
Step 6: Set Up Automated Backups #
Your financial history is priceless, so we need to protect it from a hard drive failure or an “oops” moment. The best way to do this is with a “set it and forget it” backup plan.
You can write a simple script that automatically copies your application’s data folder to a safe place on a regular schedule. Good spots for backups include an external hard drive you plug into the server or an encrypted cloud storage service.
Having solid backups means that if anything ever goes wrong, you can get your financial data back without breaking a sweat.
How to Manage Security and Backups #
When you decide to run your own self-hosted budget software, you’re taking on two roles at once: the user and the guardian. This control is a huge plus, but it also means you’re responsible for keeping your financial data safe. That boils down to two key jobs: security and backups.
Think of security as the heavy-duty lock on your front door—it’s your primary defense against anyone trying to get in. Backups are more like a spare key you’ve stashed in a safe place. You hope you never need it, but if you’re ever locked out, it’s a real lifesaver. Getting both of these right is the key to sleeping well at night.
The setup process, from hardware to final security lockdown, is pretty straightforward. The graphic below gives you a bird’s-eye view of how it all connects.
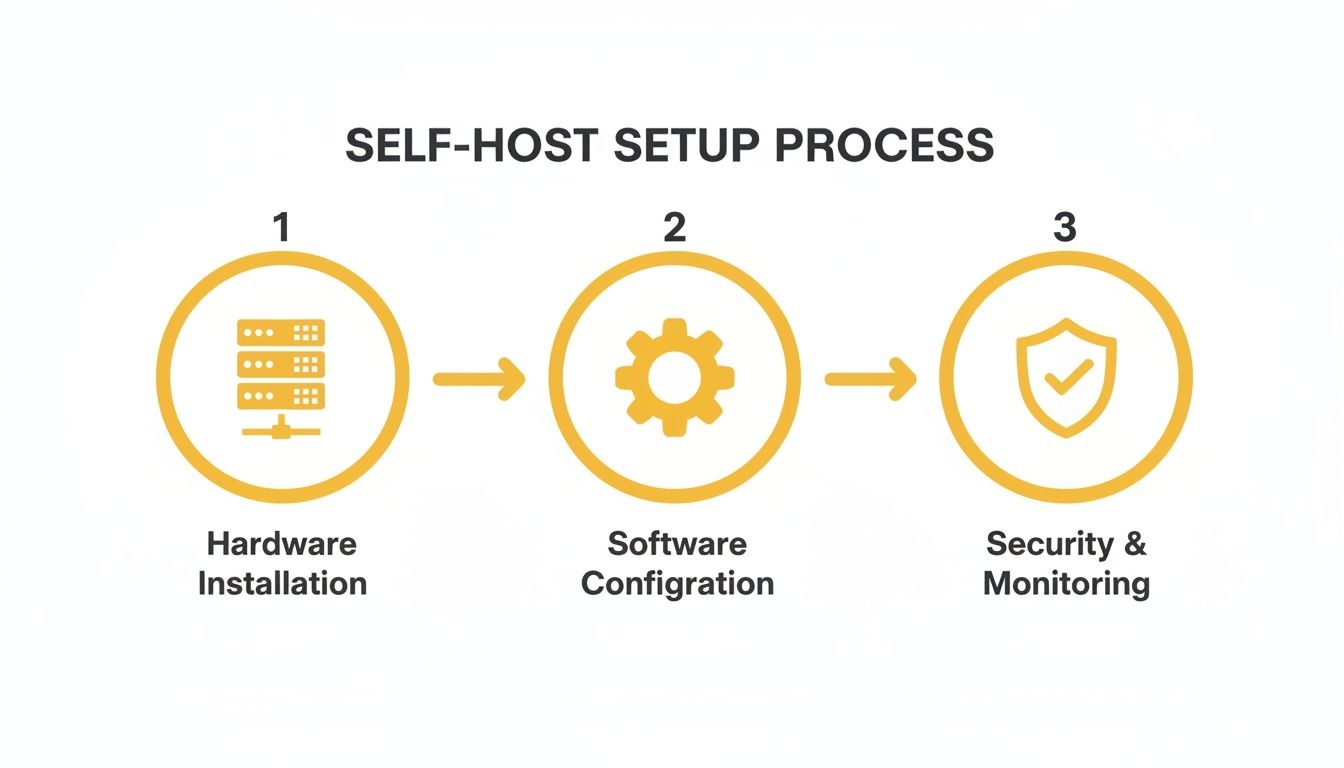
As you can see, security isn’t just an add-on; it’s the final, crucial step that wraps everything up and protects your hard work.
Fortifying Your Digital Fortress #
You don’t need a cybersecurity degree to protect your financial data. It’s all about applying a few simple, smart practices. Since the server is sitting on your own home network, you’re already starting from a much more private place than any public cloud service. But we can make it even tougher for intruders.
The easiest and most effective thing you can do is turn on your server’s firewall. A firewall acts like a bouncer at a club, checking every bit of incoming traffic and turning away anything that looks suspicious or isn’t on the guest list. It’s a simple switch to flip, but it gives you a massive security boost.
Another vital habit is keeping your software up-to-date. Developers are always finding and fixing security holes. And with modern tools like Docker, updating is often as simple as typing one or two commands to download the latest version of the app. This way, you get all the newest security patches without any real hassle.
Creating Your Data Safety Net #
Let’s face it: hardware fails, accidents happen, and data can disappear in a flash. That’s why having a solid backup strategy isn’t just a good idea—it’s non-negotiable. The goal is to create a “set it and forget it” system that automatically saves your financial history so you don’t have to worry.
Your financial data is a historical record of your life’s decisions. ZFS expert Michael W. Lucas notes that while RAID protects against disk failure, “it won’t mitigate threats like accidental deletion, malware, or physical theft.” This is why a separate, automated backup is your ultimate safety net.
A great way to handle this is by setting up a simple automated script. You can schedule it to run every day or week, automatically copying your budget software’s data folder to a safe location. That way, you always have a recent copy ready to go, no manual effort required.
For true peace of mind, try following the classic 3-2-1 backup rule:
- Have at least three copies of your data.
- Store them on two different types of media (like your server’s drive and a separate external drive).
- Keep one of those copies off-site.
This might sound like a lot, but it’s easier than you think. Your server holds the live data (copy 1). An automated backup to a USB hard drive gives you a local copy on different media (copy 2). Finally, a third backup to an encrypted cloud storage service gets your data off-site (copy 3). This layered defense means you’re protected from just about any disaster.
If you’re ready to dig in, our guide on setting up self-hosted backups walks you through the details.
Got Questions About Self-Hosting? Let’s Clear Things Up. #
So, you’re intrigued by the idea of self-hosted budget software, but a few practical questions are probably popping into your head. It’s completely normal to wonder about the real cost, how much work is involved, and what happens if the tech fails. Let’s walk through some of the most common concerns to give you a straight-up, honest look at what it’s like.
Think of this as moving from the “what if” stage to the “what’s next” part of your decision. Getting these details sorted will help you feel confident about the path you choose.
Is Self-Hosted Budget Software Actually Free? #
The short answer is yes, the software itself often is—especially community editions. You won’t pay a single dime for a license. The catch? You need to have a place for it to live, which means thinking about the hardware. But don’t worry, this doesn’t have to break the bank.
You’ve got a few options here:
- An old computer you have lying around: This is the best kind of free—truly zero cost and a perfect way to get your feet wet.
- A tiny computer like a Raspberry Pi: These are a one-time buy, usually setting you back about $50-$100.
- A virtual private server (VPS): Think of this as renting a small slice of a computer online. It’s a small monthly cost, often starting around $5/month.
So, while the software is free, you’ll need to account for these small, very manageable hardware costs.
How Much of a Pain Is It to Maintain? #
Here’s the good news: thanks to modern tools like Docker, this has gotten way easier than it used to be. The nightmare of manual updates that could crash your whole setup is largely a thing of the past. Nowadays, keeping your software fresh usually just means running a couple of simple commands.
Sure, a self-hosted setup requires a little more hands-on attention than a cloud service that magically updates itself. But for most popular apps, the process is well-documented and takes maybe a few minutes of your time every few months.
It’s a tiny time commitment in exchange for having total control over your financial data.
What Happens If My Server Dies? #
It’s a valid fear—hardware can fail. That’s exactly why a solid backup plan isn’t just nice to have, it’s essential. A smart setup will automatically back up your data regularly to a totally separate place, like an external hard drive or an encrypted cloud storage bucket.
If your server ever does give up the ghost, you just spin up a new one—on another old laptop or a new Raspberry Pi—and restore everything from your latest backup. This way, you lose little to no data and can get back to budgeting in no time.
Can I Still Access My Budget When I’m Not Home? #
Absolutely. Just because the software lives on your own server doesn’t mean it’s trapped there. You can easily set it up for secure remote access. This usually involves a reverse proxy and a domain name, which lets you log in from your phone or any computer, anywhere in the world.
It ends up feeling just like using a regular cloud app, but with one massive difference: your data travels directly from your device to your server. It never touches a third-party company’s systems. You get all the convenience of remote access without giving up an ounce of your privacy.
Ready to take control of your finances with a tool built for privacy and collaboration? Check out the Econumo live demo to see it in action, or download the community edition and start your self-hosting journey today.